
Growing Winter Anemones
The trouble with spring blooms…
It’s become commonplace amongst many small flower farms to grow anemones for flowering in the spring. In very cold climates like ours, growers soak, pre-sprout, and plant their anemone corms in late winter for blooms about 90 days from sprouting. We’re not able to over-winter our anemones and ranunculus in field plantings here. Occasionally we see some leftover corms sprout in unheated tunnels where we failed to dig them up. They seem to be anomalies.
We’ve grown anemones in pots, crates, and directly in beds in low tunnels and unheated caterpillar tunnels in the spring. But we find their production to be unpredictable and often disappointing in the spring. They seem to be just barely hitting their stride when we have some crazy heat wave that pushes them all into dormancy. We used to be able to carry anemones into July in crates that we moved into shady places as the weather warmed. But the last few years have had wild spring temps. They brought me to the point of leaning toward eliminating our anemone and ranunculus crops altogether. The flowers they produced were too few to cover the cost of the corms/roots, materials, and labor. No contest. It isn’t smart for us to grow them in the spring. Perhaps if we had a more mild winter and a longer spring we could grow them outdoors.
Ensure Profitability
If you are growing anemone and ranunculus in the spring — I hope you are able to do better than us. But if there is any question— PLEASE take a count of the sale-able stems you achieve per plant (it’s easy to see the cut stem stumps on the crowns of the plants if you can’t keep track as you harvest) and calculate your labor and materials for the crops and find out if they are doing your business more good than harm. Corms are expensive.

Winter Anemones
We decided to take a queue from a few other growers and nature itself and grow winter anemones this year. We left all the corms (and ranunculus roots) in their 1-gallon “300 series” pots outside in the rows all summer. They had been planted in our compost and some ProMix (sterile potting mix). They got rained on when it rained and dried up when we had a period of drought. We basically ignored them and let the insulation of the soil in their gallon pots protect them to some degree. We didn’t even weed them. And they got pretty weedy. But at that point, I was frustrated with them and very near pulling the plug on the crop. I don’t have much patience for underperformers.
Fall Growth
When cooler temperatures and more rain arrived in the fall, the corms and roots naturally woke up and sprouted in the pots where we left them. We brought them into our minimally heated (40-50°F) tunnel when hard frosts started to arrive. We weeded them and let the plants spend October, November, and December putting on their 90 days of leafy growth. Anemone take about 90 days from sprouting to bloom.
Fertilizer in the Growth Stage
After the first month of growth (skip one month so as not to burn roots), a fertilizer can be applied at a rate of about 50 ppm (see the description below for how we fertilize). If you follow that guide, you’ll be watering with a solution mixed at a rate of about .3 teaspoons of Jack’s granular 15-5-15 Ca-MG fertilizer per gallon. We did not use this early fertilizer during November and December, but in hindsight, I wish we had. I’m not sure how much the compost was able to feed the plants. Next year, we’ll be more precise and feed at this lower rate during months 2 & 3.
Winter Blooms
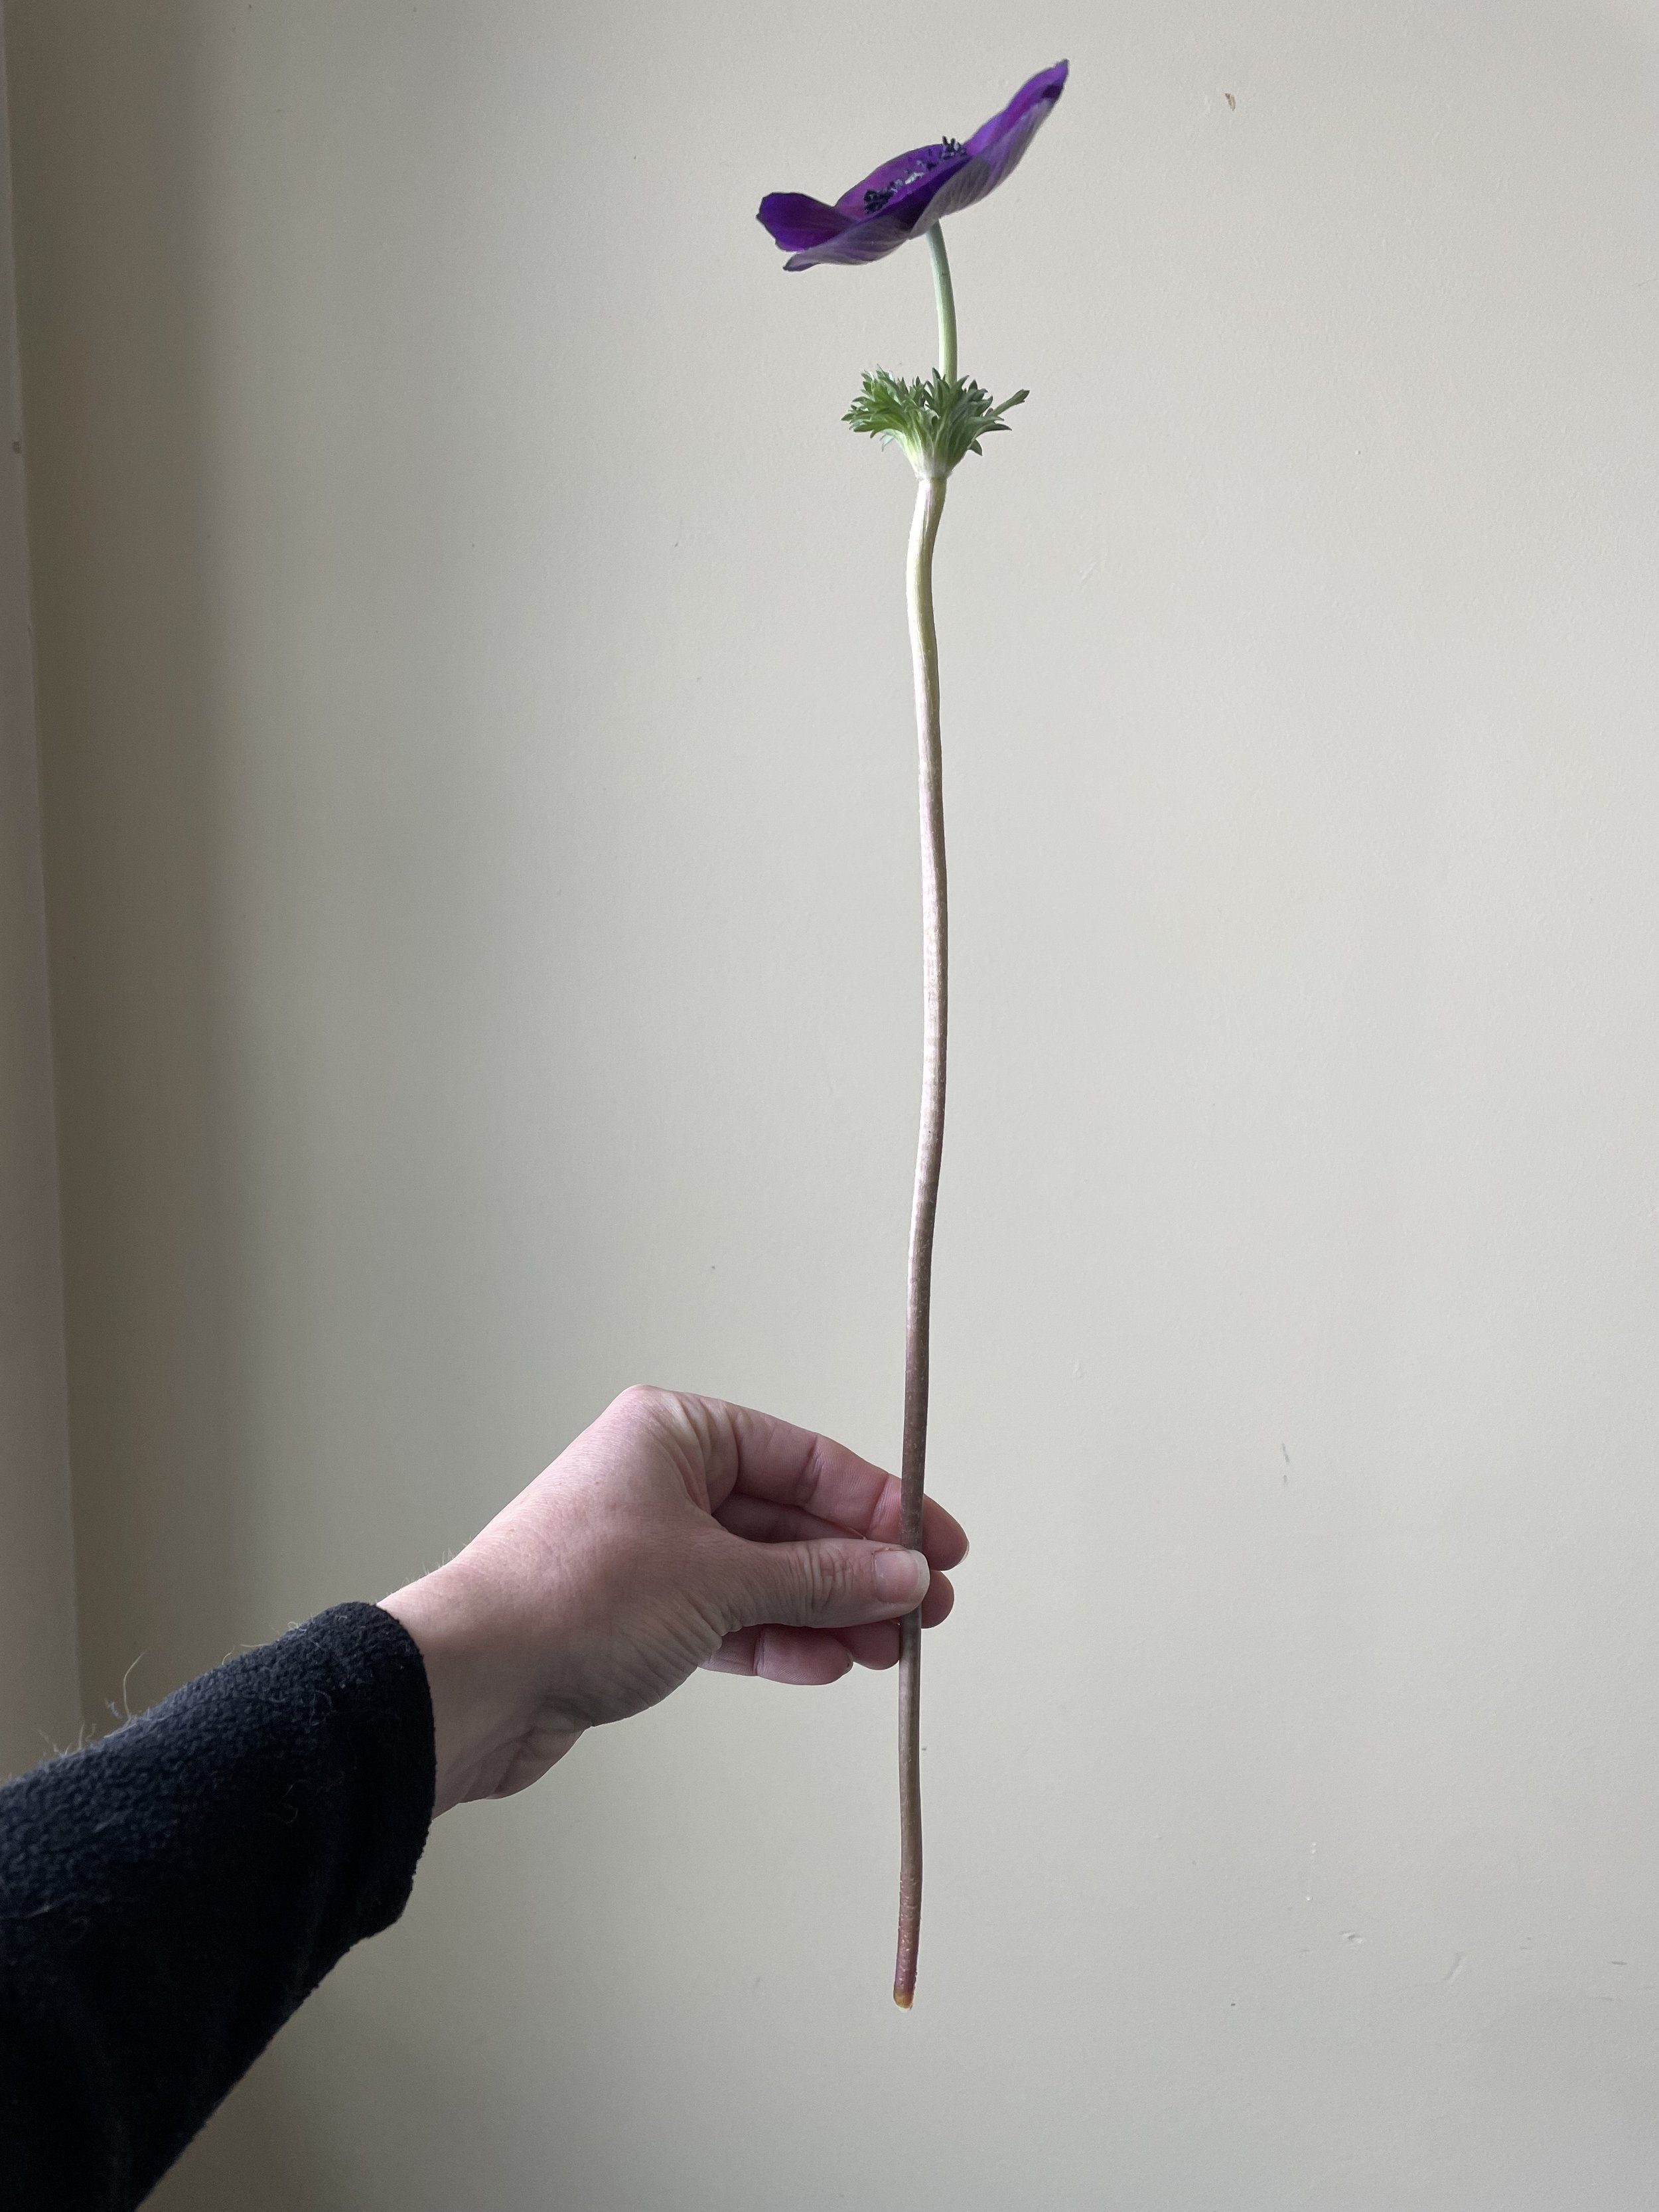
Now (end of December), our anemones are starting to bloom on tall stems. The cold temperatures and lower light convince them to stretch and reach. Our flowers are blooming on stems that are 18 inches to 26 inches tall now. And they are starting that way. We don’t see the early short stems like we typically see in spring cultivation.
Temperature
The days are starting to get a little longer and we just increased the tunnel temperature to 55-60°F. Do not grow anemone warmer than 20°C (68°F). At that temperature, dormancy may be initiated. If you are growing outside in the spring use these temperatures as your guide. Do some research and find out when your anemones will die back due to expected temps above 68°F on your farm. Shade cloth may be applied to slow the dormancy. Your goal should be to start your anemones about 90 days (AND 2-3 weeks for pre-sprouting) prior to when you hope they will start blooming. That is about 120 days from when you first soak your corms to when you will see reliable flowers.
Fertilizer in the Finishing Stage
Some 15-5-15 water soluble granular fertilizer is used with watering about once a week at a rate of 150 parts per million (ppm) in the finishing stage (after month 3 of growing). We are using Jack’s 15-5-15 Ca-Mg fertilizer. The rate of dilution for 150 ppm in one gallon of water is .79 teaspoon. (Roughly 3/4 teaspoon is ok). We multiply this recipe by 5 and fill a 5-gallon bucket for watering. You can also use a Dos-a-tron or mix your dilution directly into a watering can. Whatever works best for you.
New to fertilizers? Here is a primer:
The first number stands for the percent Nitrogen (N) (15%)
The second number is the percent Phosphorus (P) (5%)
The third number is the percent Potassium (K) (15%)
This N-P-K ratio is the commonly listed on many fertilizers. So if you see that a crop’s culture sheet calls for 20-10-20 fertilizer you know that it means 20% Nitrogen, 10% Phosphorus, and 20% Potassium. To locate applicable fertilizers you can simply use Google to search for “20-10-20 fertilizer” (or whatever ratio is suggested) and find products that may work well for you. If you want to maintain an organic practice, add “organic” to the search.
Watering Anemones
Anemones like to dry out between waterings, so the practice of watering in the morning on sunny days is especially relevant to them. It is recommended that anemone be watered only enough to hold that moisture for about a day, ideally. This can be tricky in our cold, dark climate. We try hard not to over water and if we find that we have, we wait and water when the soil surface next feels dry.
Pests
Aphids are far and away the biggest problem pests for us in anemone. They are happy to have a place to grow and breed in the wintertime - that doesn’t help. We regularly inspect our crops and squish aphids as find them. We do this every few days. We’ve also used ladybugs or Assassin beetles, neem oil in a fogger, or diatomaceous earth (DE). If you are using the latter two options— keep in mind that they shouldn’t be used in concert with beneficial insects. So a good course of action may be to try the beneficial insects first and then the neem oil or DE if necessary. Consider also the affects of these pest controls on other crops. We will not use a neem oil fog if we have a young crop of rooting tulips that are still weeks from bloom. The oil could be problematic on the surface of the water.
Disease
We do not see many diseases amongst anemone crops, though we have seen them affected by powdery mildew in an unheated tunnel with soil that was slow to dry out. A neem oil fog can help. Choosing well-draining soil and providing good ventilation are the best options, as powdery mildew can quickly spread and shorten your season.
For Fall Flowers
For fall anemone blooms, follow the natural cycle of the plant. When the corms go dormant in the spring start them (or their seeds) back up about a month or two later. If you can achieve the preferred growing and flowering temperatures for the plants, you can have a nice run of flowers before the winter solstice. If you are growing with natural light, you may find that the plants slow down near the solstice and then pick back up in production after it.
In-Depth Instructions
For in-depth anemone cultivation instructions please see this guide from Yodfat. It is also easily accessible on the Downloads page here in your member area.
Simplified Instructions for Planting in Pots - Our Method
Start your anemone crop about 120 days before you want it to start blooming.
Soak anemone corms for 8-12 hours.
Plant pointy tip down into deep-root 50-cell trays, one corm per cell, just below the soil surface at the top of the cell.
Keep at about 50°F. Maintain moisture (but not soaking wet) until sprouts emerge.
Plant sprouted anemones into 1-gallon pots with soil mix and or compost. Water in. and then as needed to prevent wilting.
Grow at 40°F for 3 months
After one month, apply fertilizer at a rate of 50 ppm with watering during months 2 and 3.
Increase temp to 50-65°F to initiate flowering at the end of month 3. Do not attempt to grow above 68°F.
Apply fertilizer at rate of 150ppm with watering. Do not over-water.
Sourcing Anemone Corms
We sourced corms from a couple of different places. When we were just learning anemones, I started with one order of black and white corms and one order of blue ones from Floret.
Now, I typically source our corms from Onings. The price list/order forms at this link contain links to the anemone and ranunculus catalogues from Italian Ranunculus. Here is a direct download for the anemone catalogue for your convenience. It will also be added to the Recommended Vendor page. To save time, I recommend reaching out ahead of assembling your order to inquire about the availability of corms. Email: info@usa.onings.com . Please don’t waste hours putting together your perfect order only to find some types are sold out!
Anemone corms often ship to growers in the fall. Due to the increasing popularity of flower growing, you may find that a full year is needed for ordering to ensure the most choice of varieties. If you would like to get some, now is the time to inquire.