
Potted Plant Irrigation Systems
Hello! We’re back with some more hands-free watering systems. This time I’m sharing how we’re watering potted or bagged plants. We’re growing dahlias (I’m never digging another dahlia, ever) and lilies in pots and I was resolved to save my staff (and myself) from hours of hand watering. We didn’t want to waste water with a sprinkler, either.
We’ve grown a lot of plants in crates before and in that case, I run drip tape across the crates. This is the first time we are growing a significant number of plants in pots. It required implementing a new system.
Some advantages of growing in pots compared to crates:
They can allow for more deeply rooted plants.
They hold on to moisture better than bulb crates.
Potted plant irrigation is more precise.
Here are a couple of ways to irrigate plants that are growing in containers. These methods are simple and precise.
We are using the same basic components from Drip Depot as explain in the previous drip irrigation post. I recommend viewing that post as well. The relevant parts are all listed and linked below.
We’re using the same 15 PSI pressure regulator on this system as we do on our other tape systems, because I have some drip tape on this line, too. I don’t want the pressure to be too high for the drip tape. Generally a higher PSI regulator is suggested/needed for these pot watering systems. We are able to keep our lower PSI regulator because we added some valves to turn on and off parts of our system. Here is a diagram showing how our system looks.

To start:
Attach a vacuum breaker to your garden hose/water source.
Then, add a pressure regulator. If you are only using potted plant waterers, you can choose a 19 or 25 psi regulator. If you are also using drip tape on your system, you’ll need to keep the PSI regulator lower at 10 or 15 and add some valves in your system (like us!) to turn some rows on and off.
Next, use a 3/4 inch perma loc adaptor to connect your pressure regulator to your mainline for the field.
Valves:
If you want the flexibility of turning some sections of your system on or off, you may want to use some valves. In this video you see these. (We use the coupling valve to turn off the drip tape so there is enough pressure to water the potted plants.)
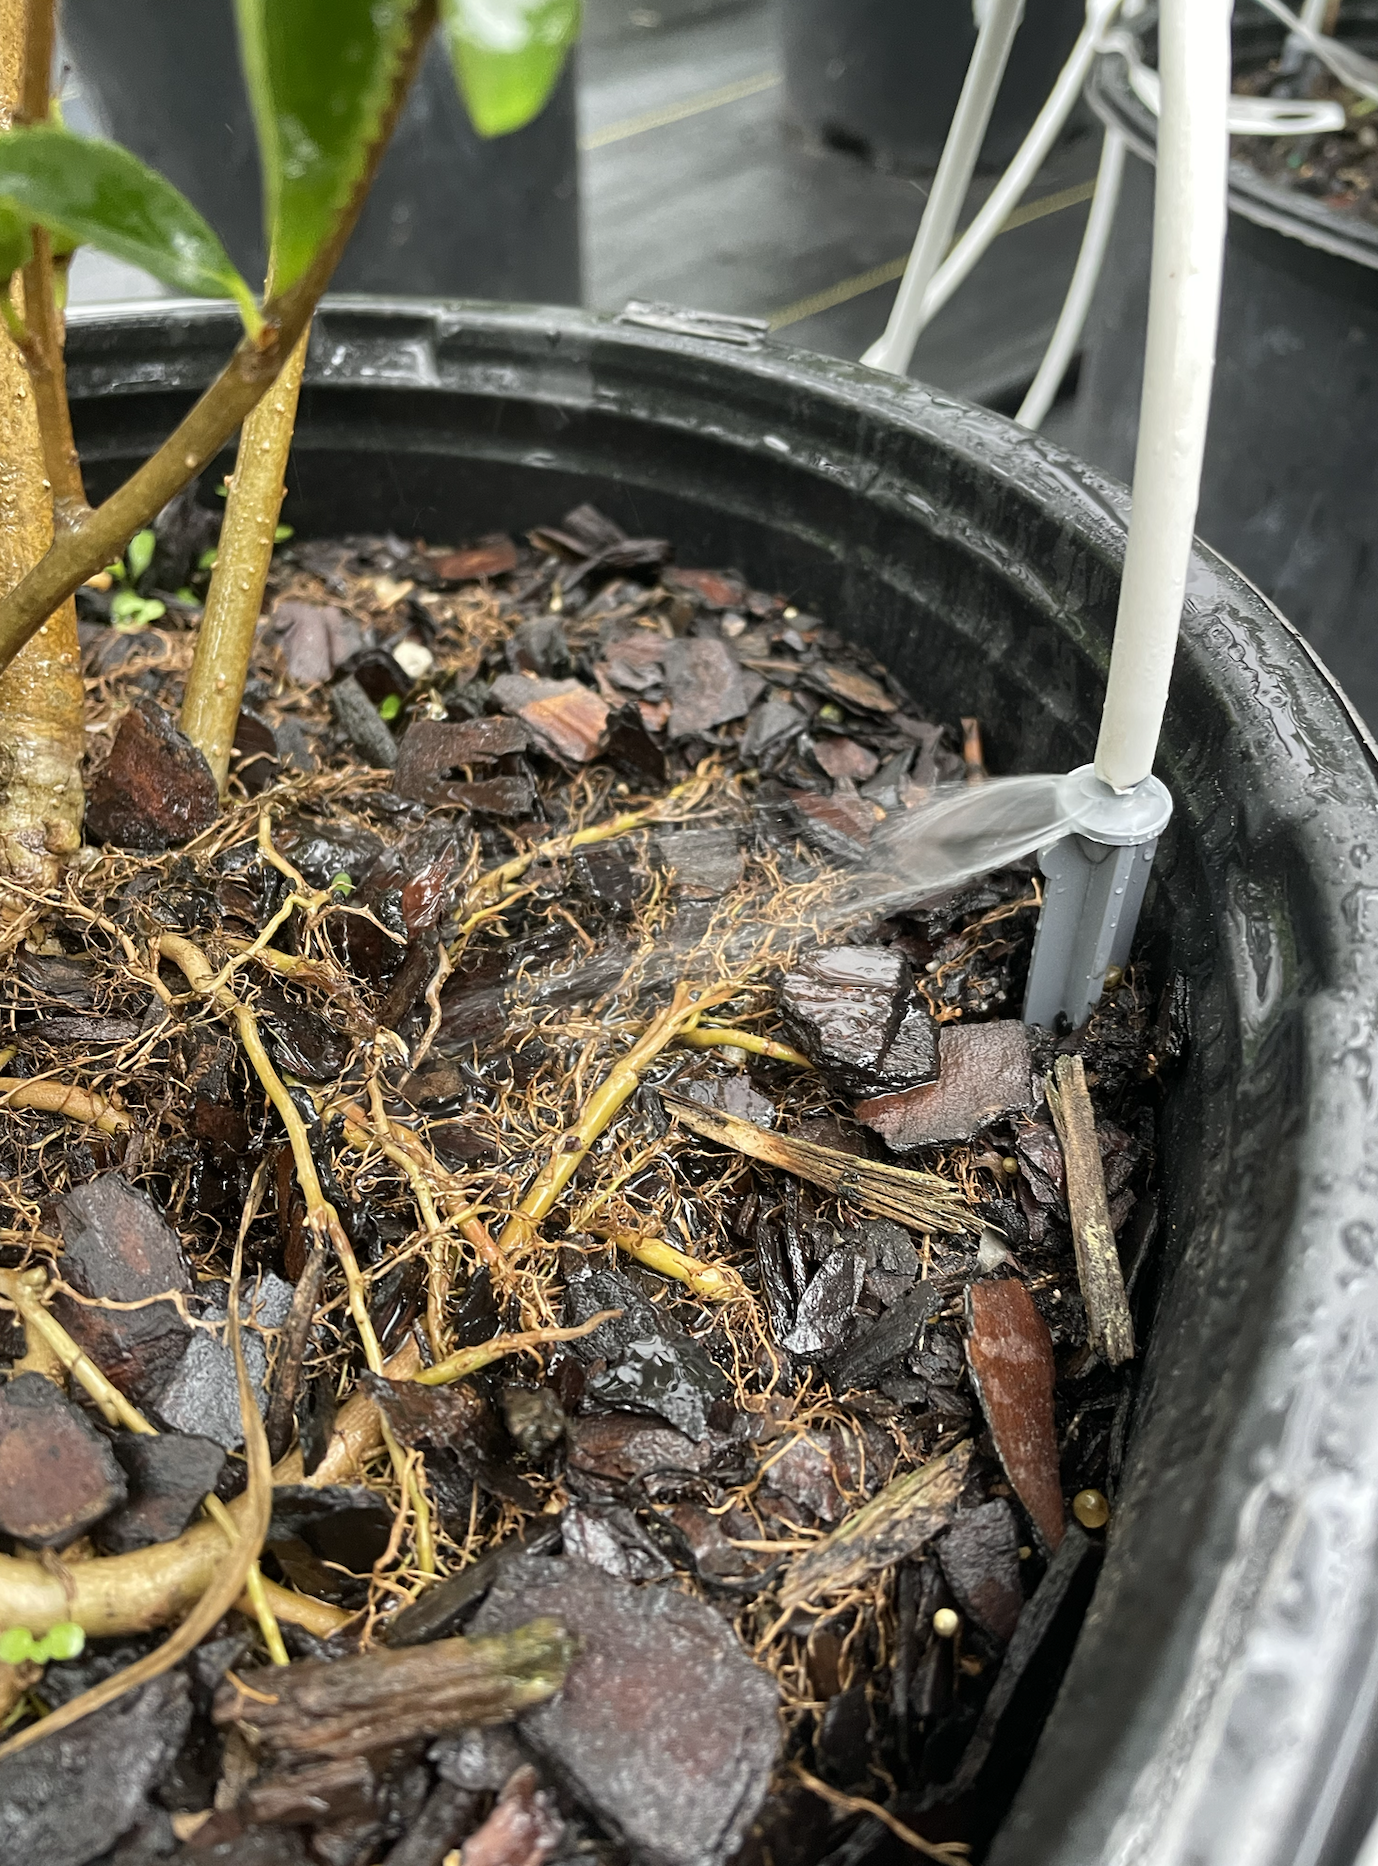
Method 1: Drip Arrow Sticks


We’re using 4-way assembly drip arrow sticks to water our dahlia plants. I chose the drip arrow sticks for dahlias because they deliver directed water slowly in one place.
We purchased these 4-way assemblies with the longest tubing available, which allows for more flexibility here in terms of how we arrange our pots. But the length of tubing also increases the amount of pressure needed to supply plants.
Our system is made with:
3/4 inch mainline tubing and a 3/4 inch mainline end cap for each row of plants to be watered.
emitter barb (We’re using the 2 gallons per hour (GPH) emitters because we are attaching the 4-way assembly and the water is spread between 4 plants. You can try using emitters that consume fewer gallons per hour if you have concerns about running out of water or stress on a well pump.)
4-way assembly drip arrow sticks (one assembly for every 4 pots)
Method 2: Spot Spitters

We’re using spot spitters to water the lily crops and larger plants with extensive smaller root systems. Our lilies are planted about 15-20 per large nursery pot. I want the water to be sprayed out to reach all the plants as they are growing. So we’re using the spot spitters for them. Spot spitters are like mini sprinklers, placed just above the soil surface of the pots. One advantage to the pot spitters is that they can be easily removed and “turned off,” as seen in the video, if you want to remove a plant from the line.
Our system is made with:
3/4 inch mainline tubing and a 3/4 inch mainline end cap for each row of plants to be watered.
spot spitters (one per plant) We’re using the gray ones with 90 degree spray pattern. Wider spray patterns use more gallons per hour and may require more pressure to water.
I hope this post has been helpful! I sure wish someone had shared this information with me a long time ago. Here’s to saving time, money, and WATER this season. Please let me know if you have any questions. I’ll do my best to find answers for you.
