
Intro to Manual Camera Settings
Preview:
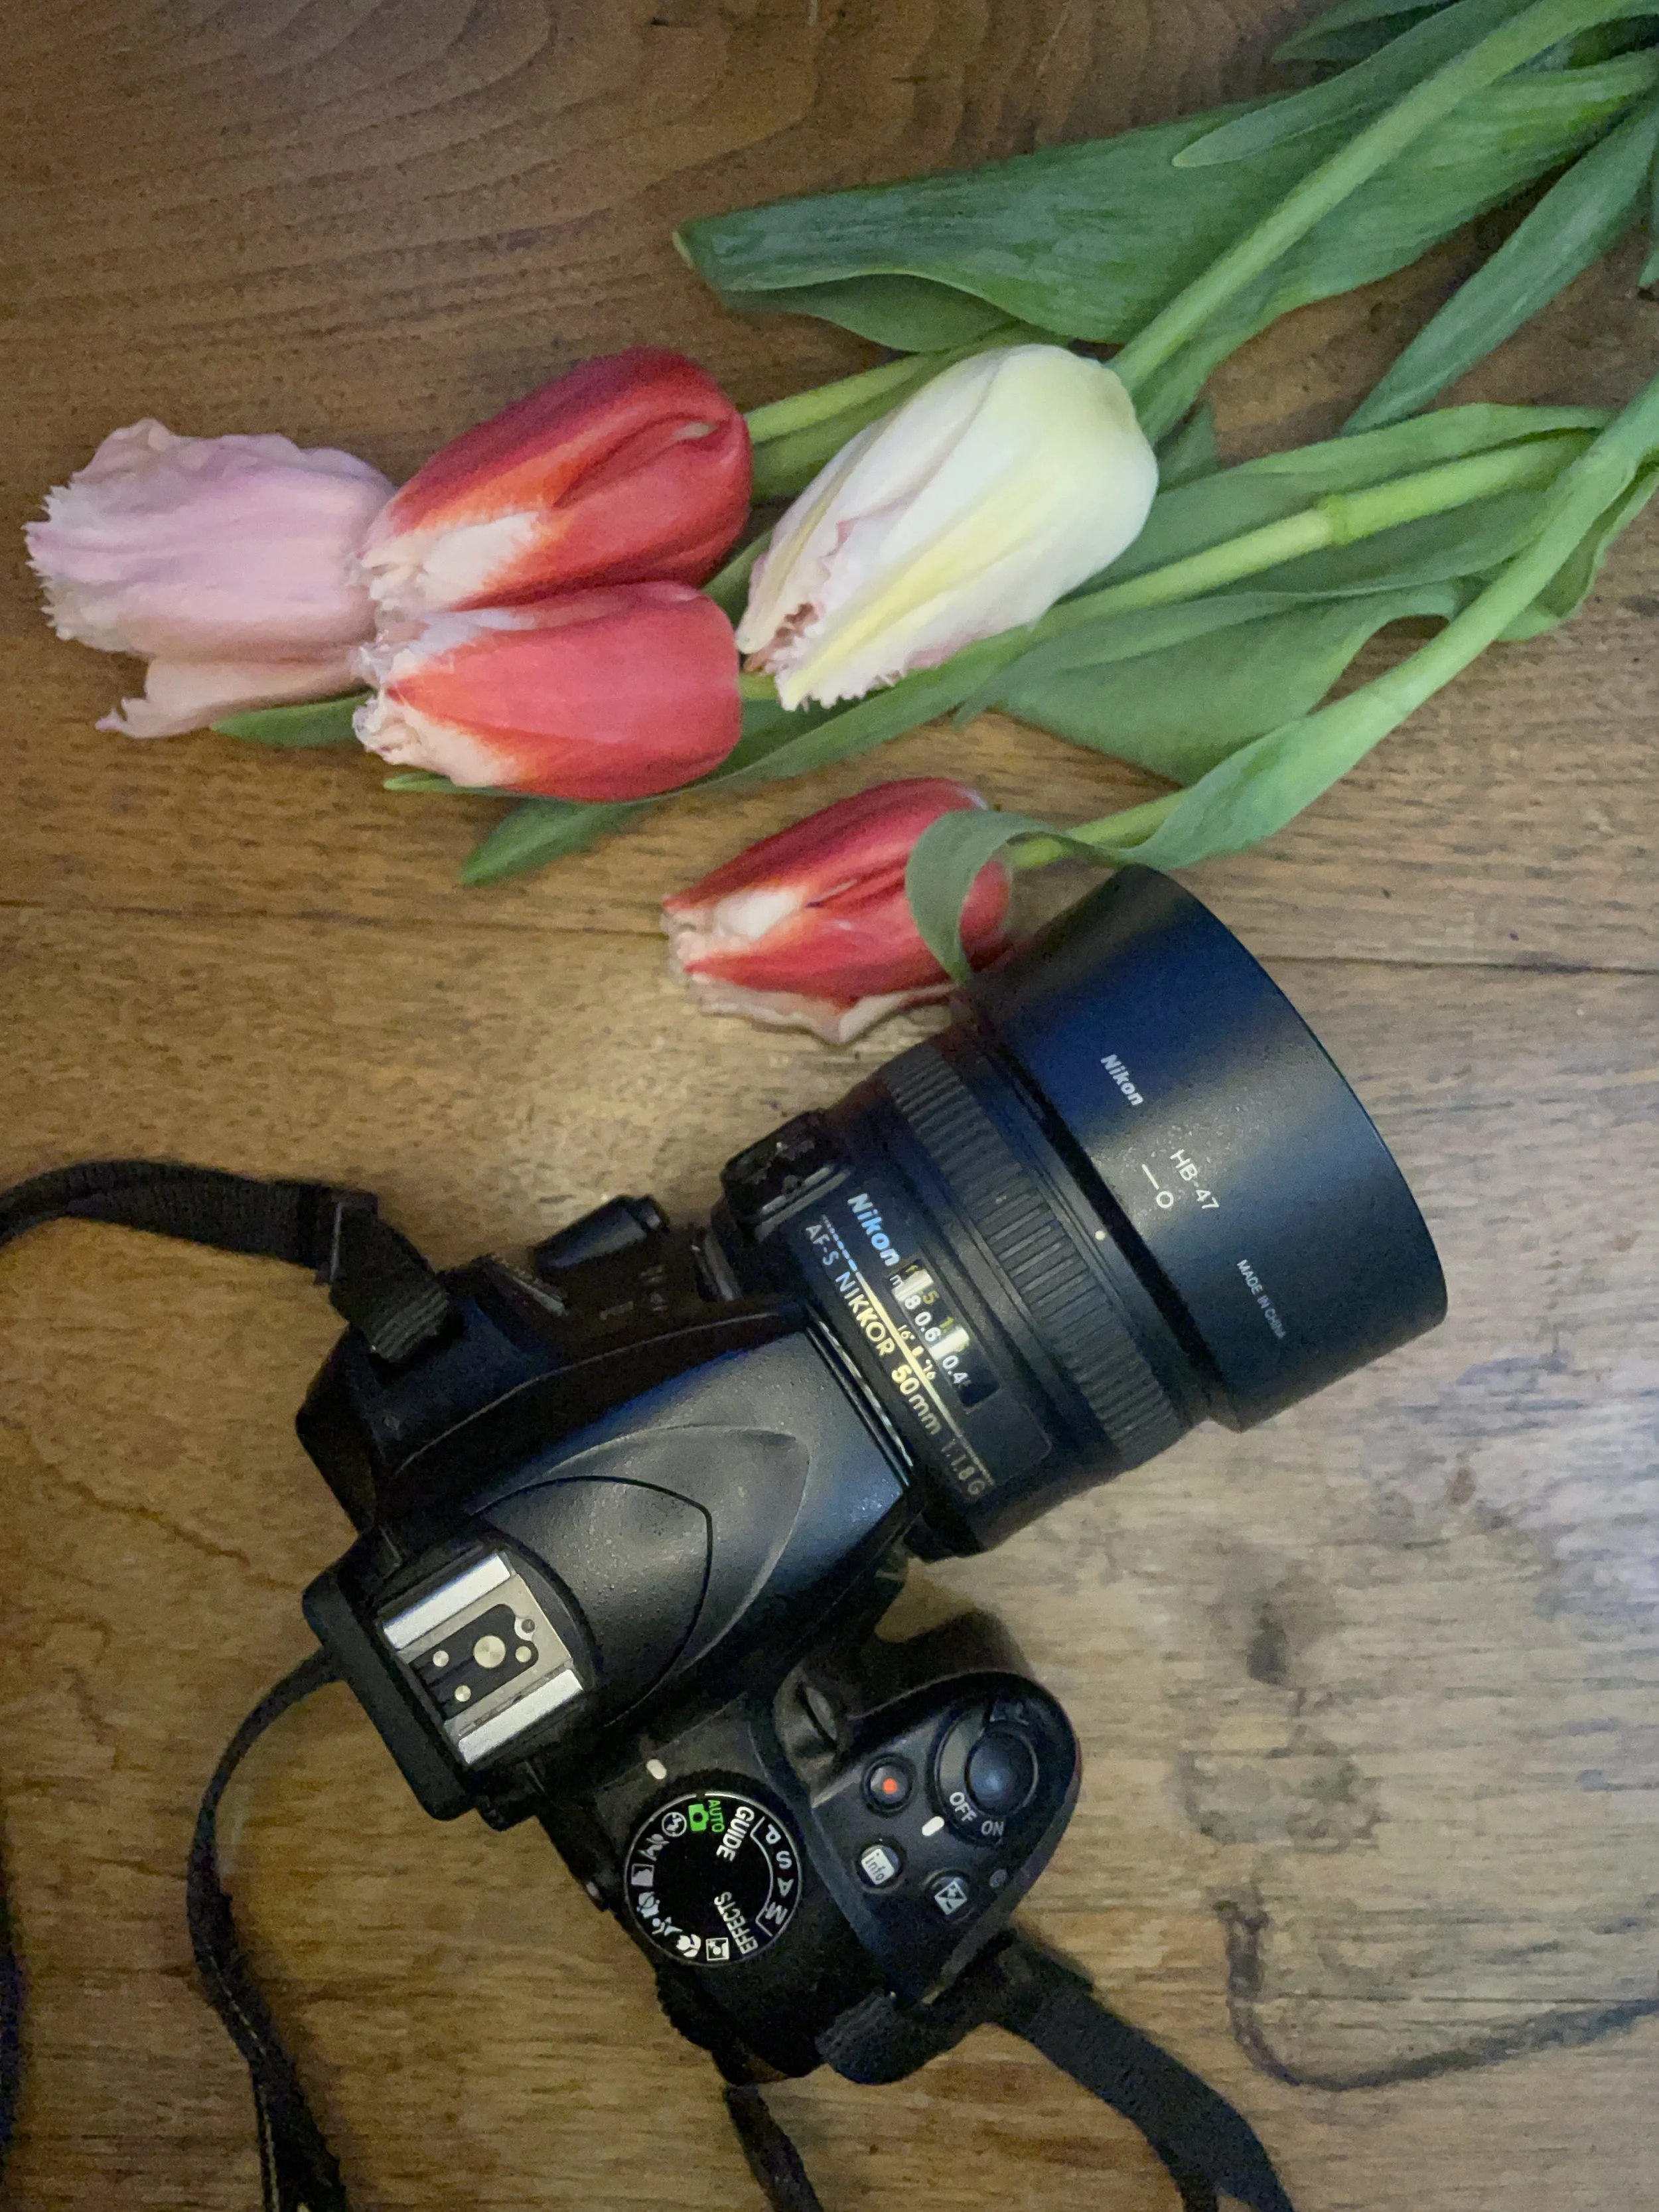
The following post shares tips and basic knowledge for shooting a camera in manual mode. I use a Nikon D3400 (it is now discontinued but you can find newer models) with a 50mm lens that is about 5 years old. I have a lens hood which helps prevent glares on the lens.
If you don’t have access to a stand-alone camera, give a manual camera app like Filmic Firstlight a try. You can even purchase a 50mm mobile phone lens to attach to your phone. It’s less expensive than a big camera. They won’t offer you as much control, but the features that simulate manual camera shooting can be helpful learning tools and lead to more artful cell phone photography. We should probably dig into this more in a future post!
Suggestions:
Enter with patience, but don’t be afraid! Know that the pursuit of a beautiful photo can take just a few shots or a few hundred- gasp! It all depends on how far you want to pursue an image and how environmental factors (like changing light) will affect the process of your work. Photography is an art and it deserves attention and practice. I can almost never get the shot I’d like when I’m rushing. I need to set aside intentional time to get the images I want. The following steps help me streamline the process, though!
Setting up a practice of shooting at about the same time of day in the same location can help! This way, you grow accustomed to the light and have a better sense of which manual settings work best then and there.
Keep a log. When you find a setting that looks really great, make a note of the location, time of day, and type of light. Is it a sunny or overcast day? A simple log of settings can help tremendously! The next time you shoot there, you can turn on your camera and plug those settings right in as a starting point.
Know that one of the best things you can do for your business is to hire a professional photographer. That person will be able to capture YOU. Photos of you at work and with your product are valuable for growing consumer trust and loyalty. Customers will be more willing to buy from you if they feel like they know who you are. So, don’t be ashamed in the least if photography isn’t your thing and it makes more sense to invest in an annual photography shoot or two on your farm. We do both. We sometimes take our own photos and we hire a photographer to come and shoot at least once each year, focusing on crops or seasons that need photo refreshes. I’ll share some good thoughts for hiring professional photographers and videographers in an upcoming post.
Getting Started:
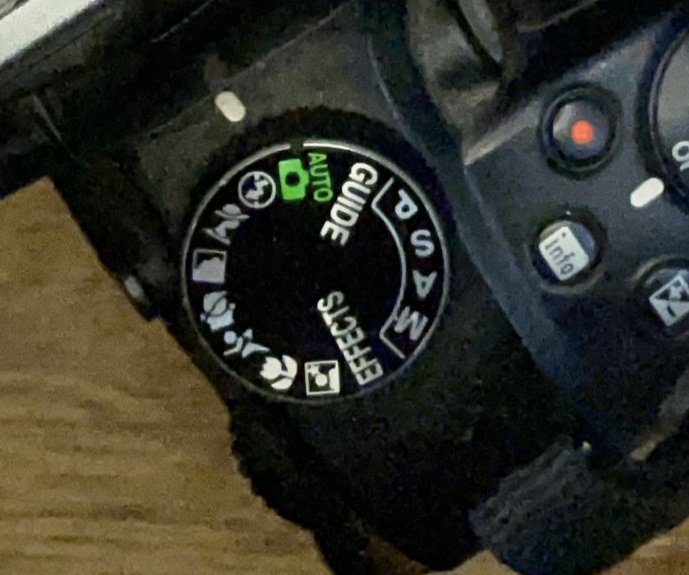
Start in auto, no-flash mode
This setting is a crossed-out flash symbol/lightning bolt on my camera. It is listed just under the green “auto” setting, which will apply flash in low-light situations.
Instead of starting off with a blank slate in manual mode, we’re going to use the camera’s auto, no-flash suggestions as a jumping-off point. We use “Auto no-flash” mode because I want the ambient light to do the talking for me. Whenever possible. I recommend using natural light. Place your subject near a window or shoot outside.
Take note of the settings the camera is suggesting for your situation. Write down the shutter speed, aperture, and ISO settings for easy reference.
Quick Reference: What do these settings mean?
Shutter Speed: determines how quickly the photo will be taken, measured in split seconds or seconds.
Aperture: the amount of light allowed onto the lens by a contracting shutter. The amount your aperture can open or close will depend on the type of lens you are using. For flower photos, I find a 50mm lens to be useful indoors and most of the time I can make it work outside. It is the most versatile lens I have for flower work. It’s also a nice lens for portraits. Lower aperture number = more light coming in.
ISO: determines the camera’s sensitivity to light. The lower the number, the more detailed your image will be. The higher the number, the more grainy it will be.
Now, switch to the manual setting. Input your camera’s recommended shutter speed, aperture and ISO. NOTE: I never shoot with an ISO higher than 800, because I don’t want my images to appear grainy. I like all the little details. So, if the recommended ISO is above 800, I’ll go ahead and start with 800 or even 400, instead.
Then, I’ll take a photo - pretty much as recommended by the auto no-flash setting, with the exception of ISO if the recommendation was high. I’ll check the image and I’ll close down the aperture if I want the image to be more dark and moody or I’ll open it to make the image more ethereal and light.
If I’m not happy with the affect of changing the aperture, then I’ll see what adjusting the shutter speed does for my images. I’ll try to take a slightly faster or slightly slower photo, each time checking my image so I know if I’m moving in a direction I’m happy with. I’m not taking random shots in the dark with this method- just moving up or down a little until I like what I see.
Once I arrive at a place where I’m happy I jot down the settings so I can use them again and faster the next time. That will be my jumping-off point and I’ll make small adjustments to the aperture and shutter speed from that point.

Challenges of shooting farmer-florist work with manual settings:
The biggest challenges I face when shooting flowers for my business are:
low light indoors (barn, studio shooting)
over exposure (bright light) when shooting outdoors in the bright sun or greenhouse spaces
I’m happy to share more specific information in the future about taking photos in each of these two settings and how to overcome their challenges.
Avoid Extremes:
Generally, I try to avoid the extremes by shooting at the time of day when light is more favorable for my location. I shoot morning light in the studio when I know there will be natural light streaming in. I can control it with a piece of cardboard placed in front of the window. I shoot in the early morning or golden hour evening time outside to capture magical shots with a 50mm lens outside. I also like to look for fleeting moments - like morning fog, dew drops, and frost. They can make for magical photos.
Final notes:
Manual photography isn’t easy for everyone to pick up, so give yourself some grace as you learn and tinker with settings. When in doubt, return to the “auto, no-flash” trick. See what the camera automatically recommends and then make small adjustments to those same settings entered into the manual mode.
If you want things to look moodier, increase your aperture number (to close down the shutter and block out light) and then speed up your shutter speed. Make one change first and then the other to avoid over-adjusting.
If you want the image to be brighter and more dreamy you can lower your aperture number (1.8 is the lowest my 50mm lends can go) and then try slowing down your shutter speed. Make one change first and then the other to avoid over-adjusting.
Be sure to note which settings work best for you in a log.
If you’re interested in more specific tips for low-light and bright-light shooting let me know. And chime in if you’d like more info about phone photography with apps like Filmic Firstlight.
