
masquerade ball how-to
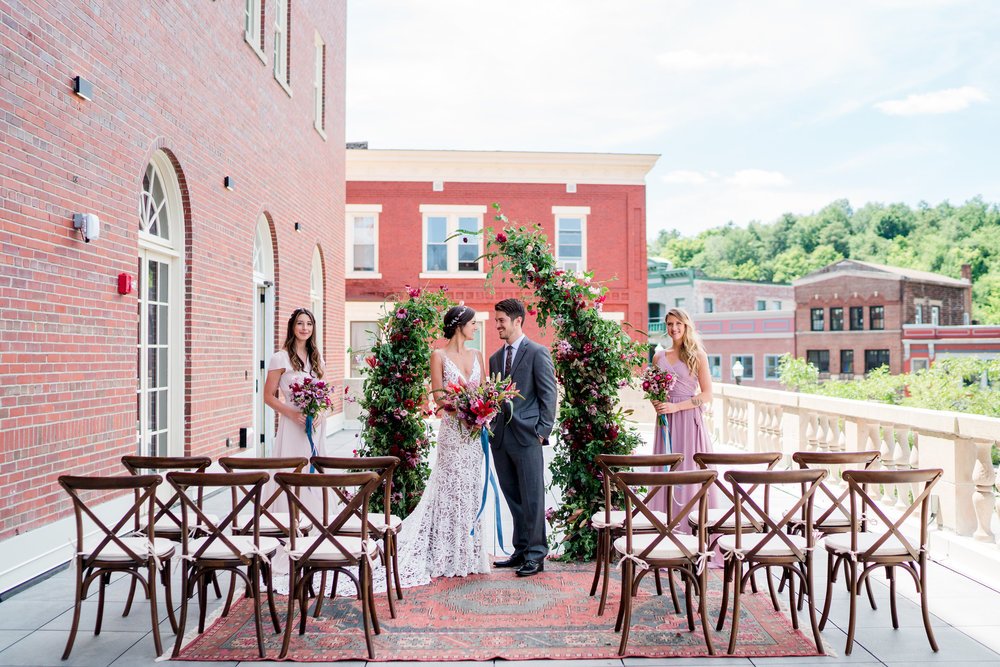
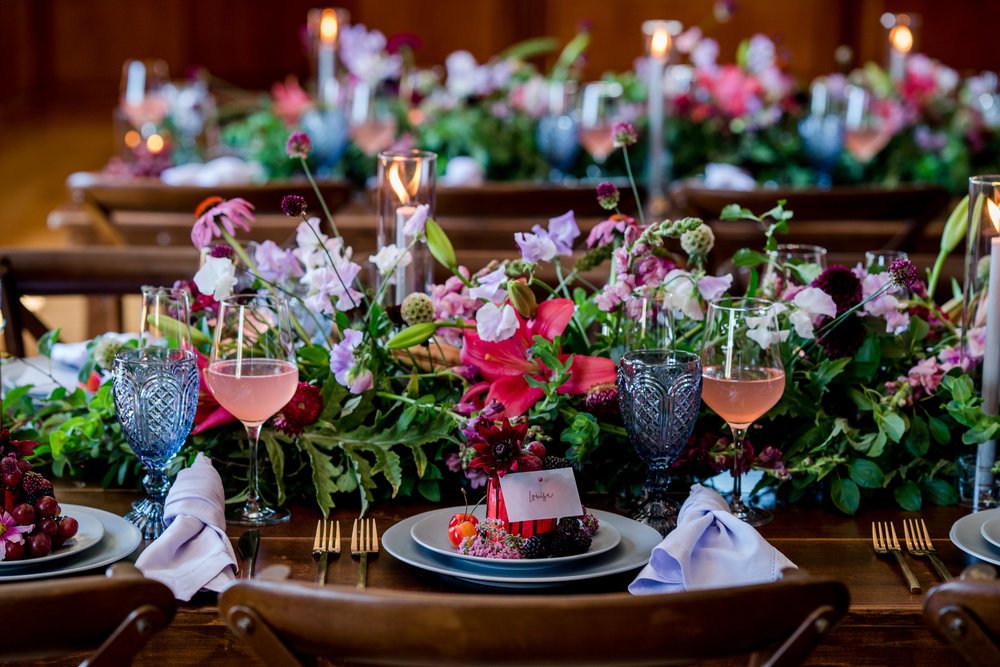
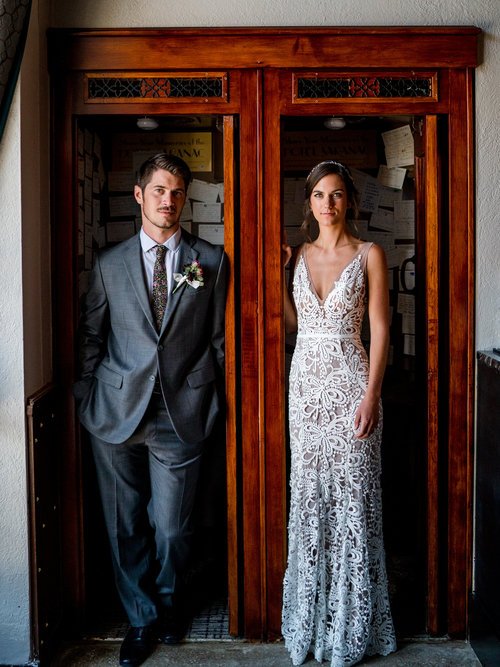
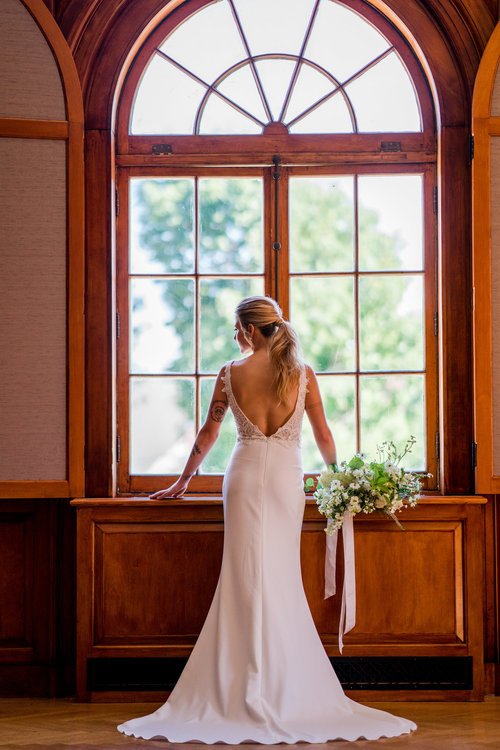
A local, super chic hotel is hosting a masquerade ball on New Year’s Eve. Hotel Saranac is a landmark. For years it fell into disrepair, before being sold and remodeled/restored back into an amazing space. We were fortunate to participate in a promotional wedding shoot for the hotel last summer, and are looking forward to serving some of our wedding clients there this summer! Here are a few photos so you can get a feel for the space. If you’re looking for a historical venue with a modern twist, a gorgeous rooftop ceremony spot and - hello- built in rooms for many or few guests, this is the place for you!
The masquerade ball got me thinking about how I’d design a mask if I were to go, and I started playing around with some things in my studio. I actually had a couple of mask bases from Michael’s in my person flowers box. I guess I’ve been wanting to do this for a while. So, thank you to the hotel for the final prod to make something!
Materials for this project: (many are optional, if you don’t have them, work with what you do have!)
-1-inch silk ribbon or roughly 1/4-inch elastic (optional)
-Scissors
-Tin snips (or another cutting tool strong enough to modify the mask form)
-Nail file (the heavy cardboard drugstore work great)
-Dremmel tool with sander bit (optional)
-Wire snips
-Tweezers
-Flower snips
-Needle nose jewelry pliers
-Paper towel roll (helps with cleaning up glue and serves as a round surface on which to decorate the mask)
-Oasis floral glue or hot glue
-Floral wire
-Dried moss (optional)
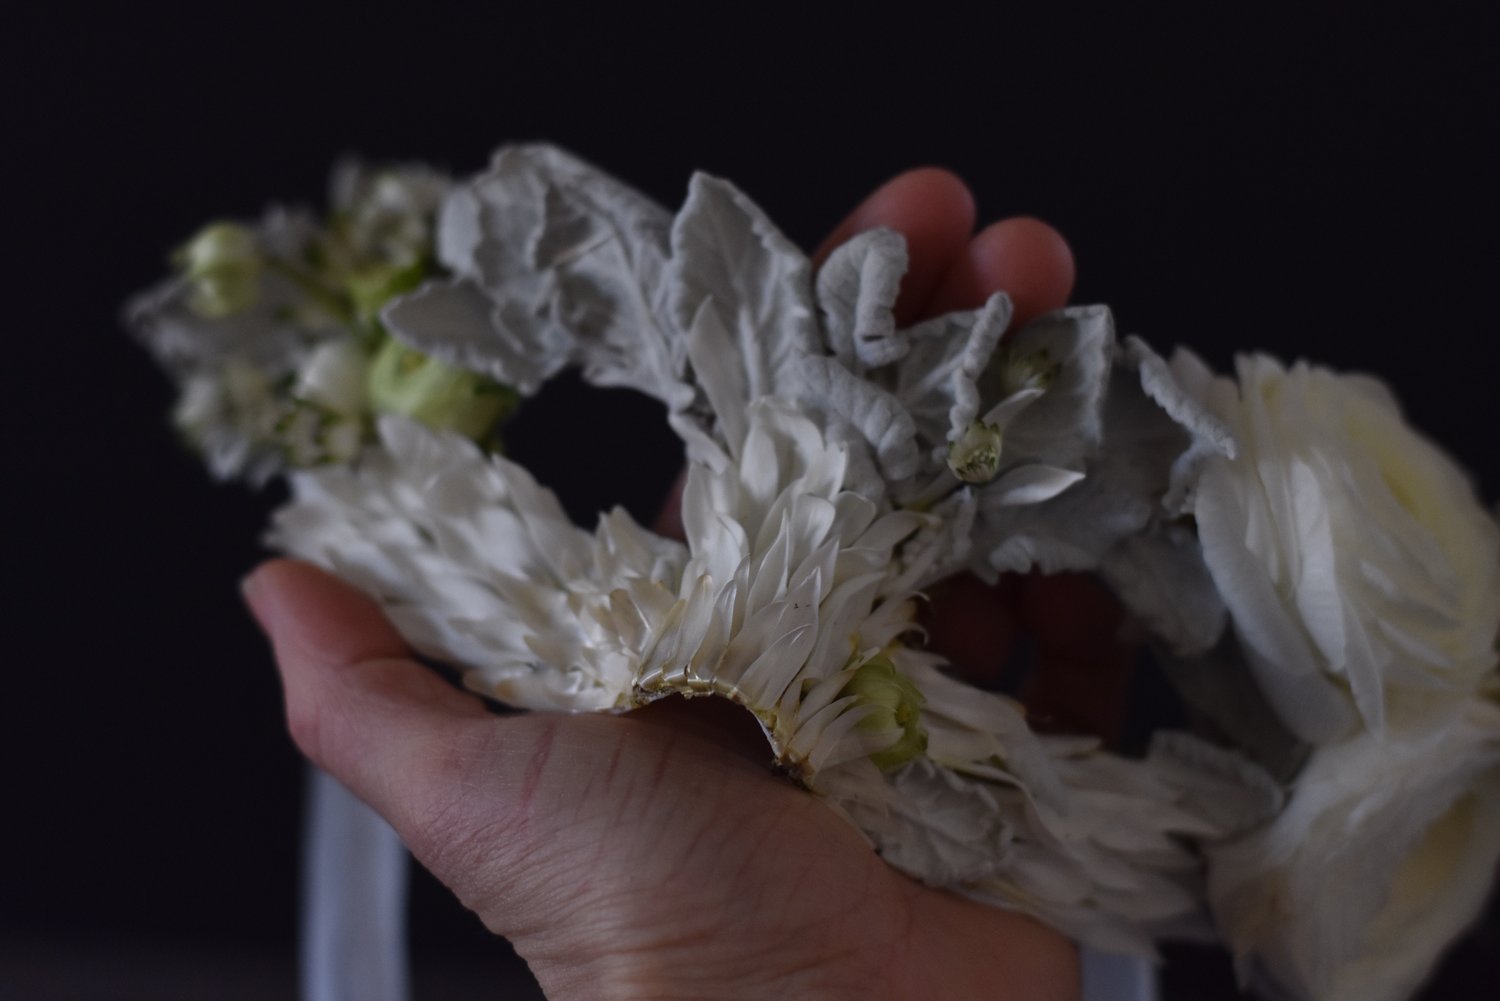
-White ranunculus (3 flowers and 5-6 buds)
-White astrantia (1- stem with branching blooms/buds)
-Miniature white star carnations (about 6)
-Fresh or dried White strawflower heads (2-3)
-Dried ruby silk grass or any dried seeded grass(2-3 pieces)
-Fresh or dried Dusty Miller ‘New Look’: (small, inner leaves)
To start, cut off the satin ribbon ties if you will be attaching your own ribbon or elastic. Add the new ribbon or elastic to the mask BEFORE you start decorating so that you can confidently cover the connections with floral materials.
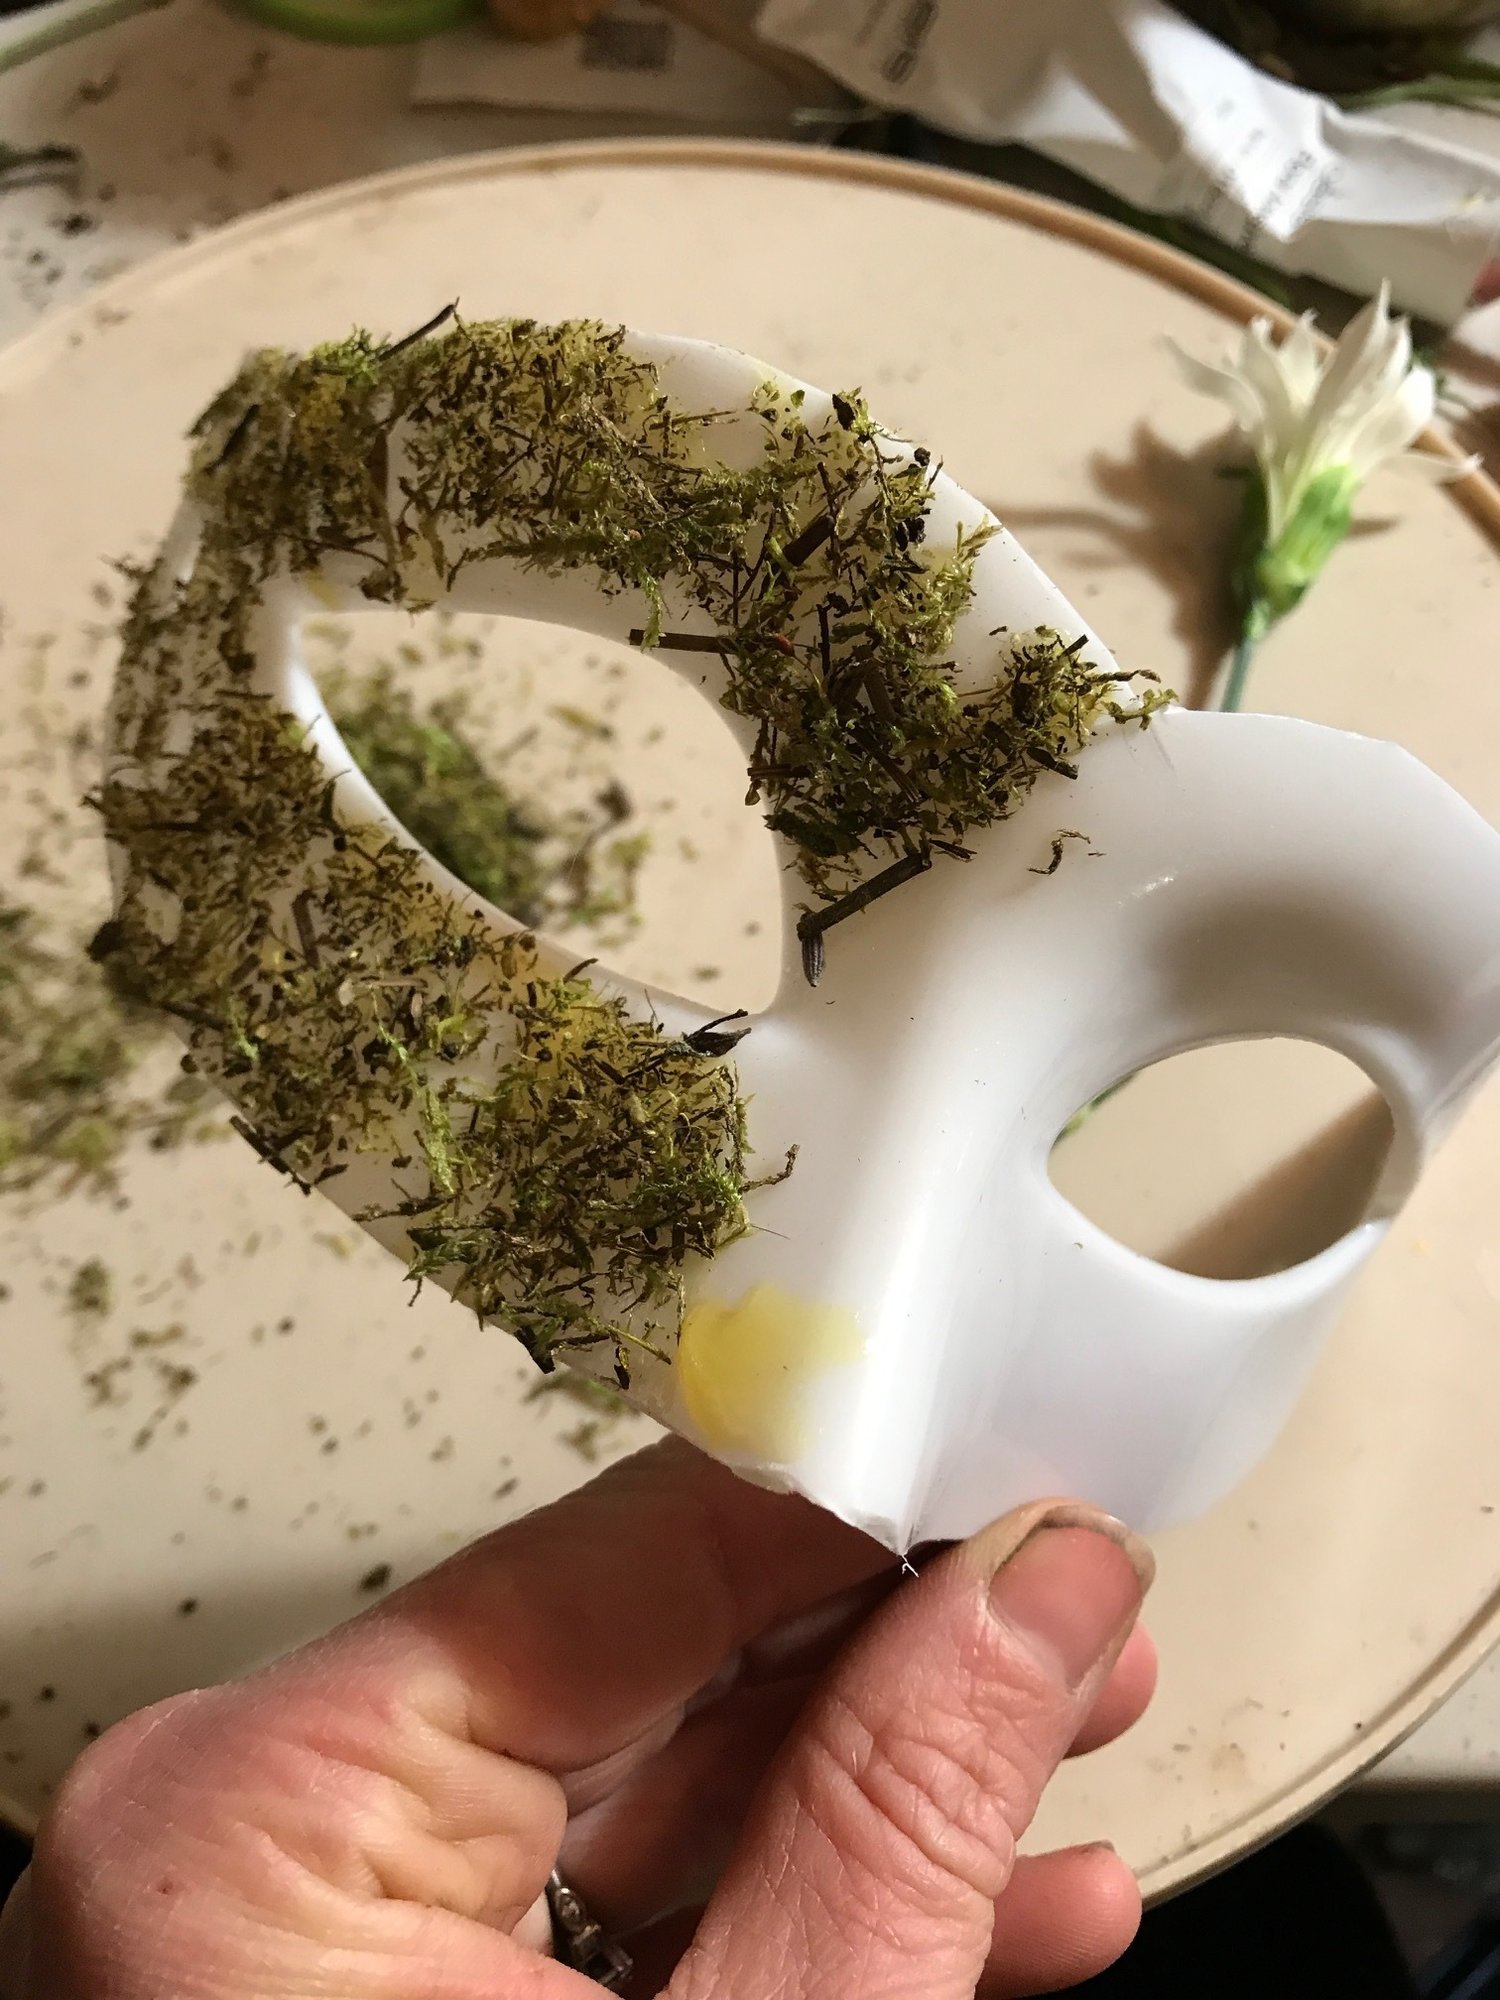
Use the tin snips to edit the pre-made mask. I cut off the star shaped piece from the center/forehead area. I also trimmed down the plastic to make the form a little thinner and lighter. The flowers will hang over the edge of the form, so if the mask base seems too big before you start, you’ll want to trim it back.
Optional: If you are designing a mask for a child, you might find that the eye holes are too far apart. A drummer tool or similar with a sanding bit makes filing down that nose piece and bringing the eye hold closer together REALLY easy. You can also use the nail file. The nail file should be used to smooth out any rough edges from trimming the mask before your add your materials, too.
Next, add a thin layer of glue and dried moss to the mask form. I’ve heard that the moss helps the other natural materials adhere better to the form. It also provides a more natural backdrop. But, I’ve also since made more masks without using the moss, and everything seems fine to me. I’ll leave it up to you.
Identify the focal areas of the mask. I chose one area to decorate heavily, one space on the opposite side to balance with more, fewer flowers, and a very small feature (the beauty spot on the nose!).
Add your larger flowers first and then work in the smaller and lighter ones. Resist the urge to cover the mask with leave or other materials and glue your flowers on top. Why? If those leaves fail, the whole design will peel off, instead of just a single piece.
Trim the ranunculus all the way down to the base of the stem and remove the sepals. Put a small dab of glue on both the mask and the back of the flower. If you let the glue sit a few moments it will set up and lock your pieces together easier.
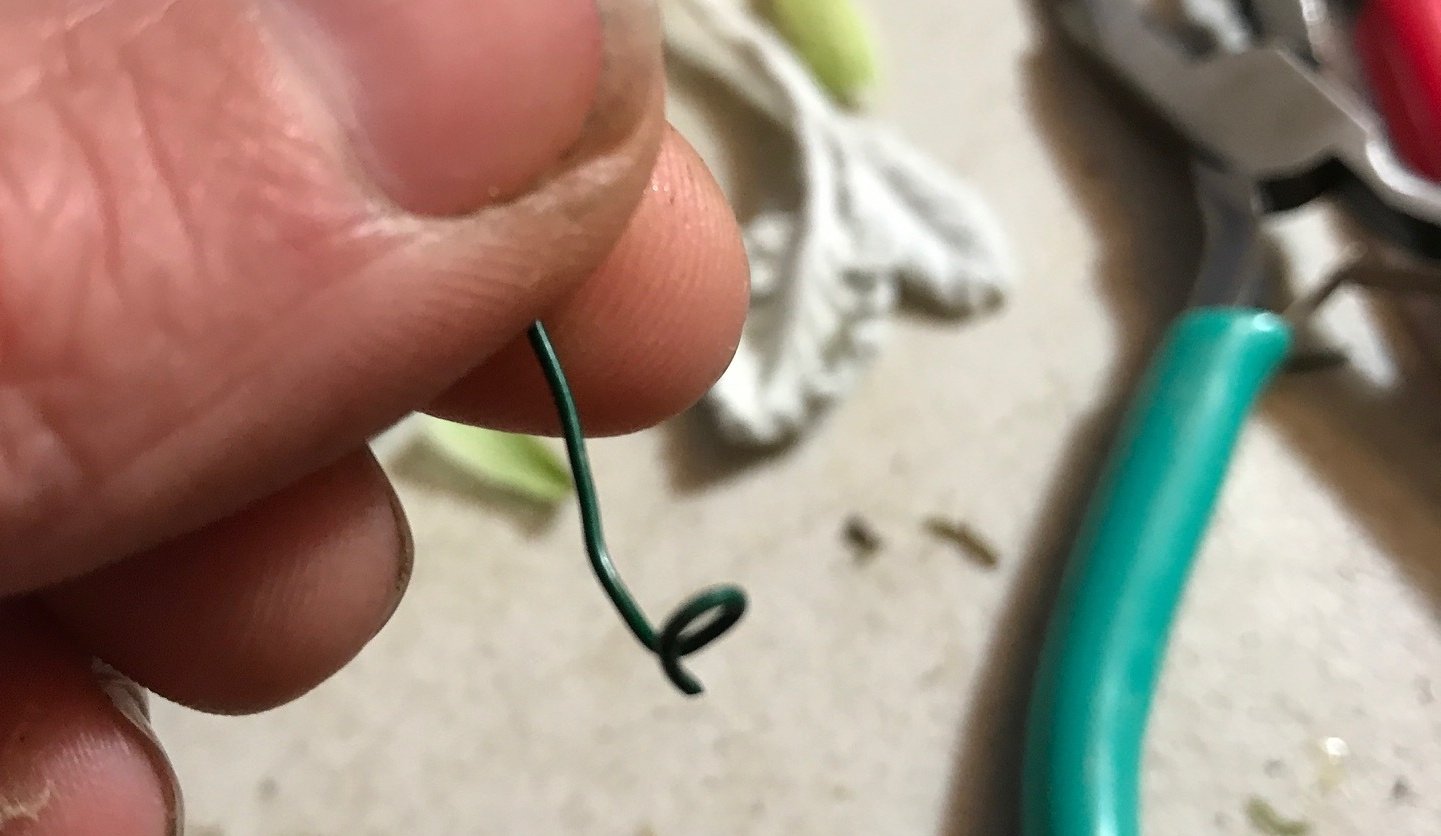
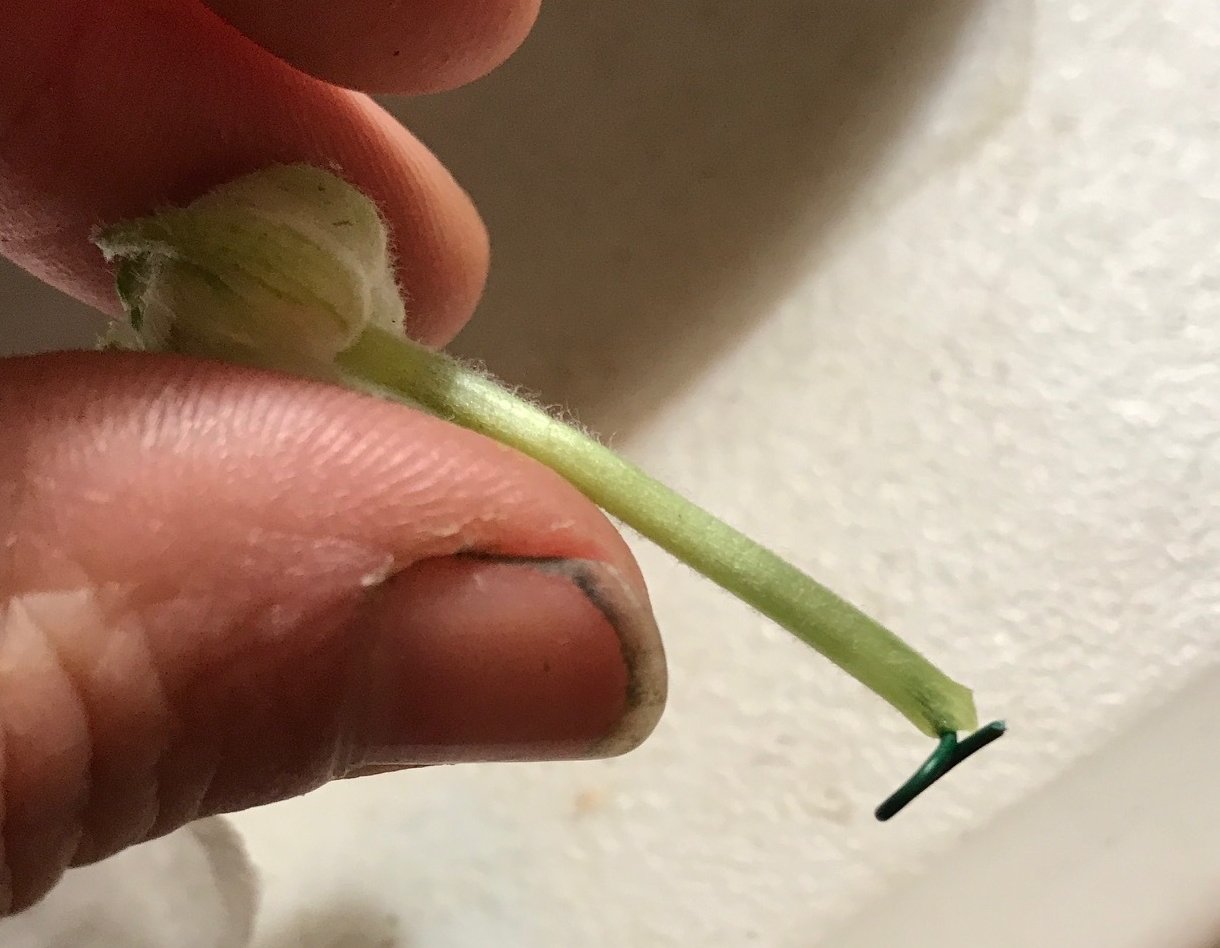
I wanted the ranunculus buds to stick out on their stems in directions that would support my design. First, I cut them to the length I wanted. Then I cut a piece of wire about a half inch longer than the stem. I used needle nose pliers to make a small loop at one end of the wire. Bend the loop so that it is on a perpendicular plan to the length of the wire, as seen in the photo below. Straighten the wire and insert it carefully into the ranunculus stem. bend the stem as needed to keep the wire inside. Push the wire into the base of the bud’s head, but no all the way through. Next, use the loop at the bottom of the wire to hold a dab of your glue and press the stem on to your mask. The wire loop acts as a foot to hold up the stem. Pease disregard my farmer’s fingernails. Yikes!
I used a similar technique to make wire supports for the small bunches of ruby silk grass. First, I trimmed tiny bundles of the grass to the same length. I added a dab of glue to hold their stems together. While the glue is still tacky, add a short wire with a looped “foot” bent at an angle that will allow the grass to sit the way you want it to in your mask.
The Dusty Miller, and Astrantia were just cut to length and glued on. I used the carnation petals and white strawflower petals to cover smaller areas and lead the eye to the focal arrangements. Those were laid on in a sort of overlapping fish scale pattern. Use the tweezers to place them!
Take note: When you’re making a mask like this, it’s nice to have a variety of types of materials— but maybe more importantly, a variety in sizes of materials. When you’re working on the smaller features, like the eyes and nose, you’ll want dainty petals and leaves to keep things delicate. For rougher, more masculine features, use larger materials. Check out these images from Instagram’s @miss_trouvaille . They demonstrate that thinking really well.