
More Low Tunnel Uses
Hello! Welcome back. Here are some of my favorite uses for Low Tunnels. Most of you probably know what a low tunnel is, but there is a brief description below if you’re new to them. I will teach you how to build them in a future post. I had a small fleet of low tunnels that served my farm for my first few years of growing, until I decided they were too fussy and it was worth investing in the larger tunnels. I was maintaining 12, 90ft low tunnels at that point.
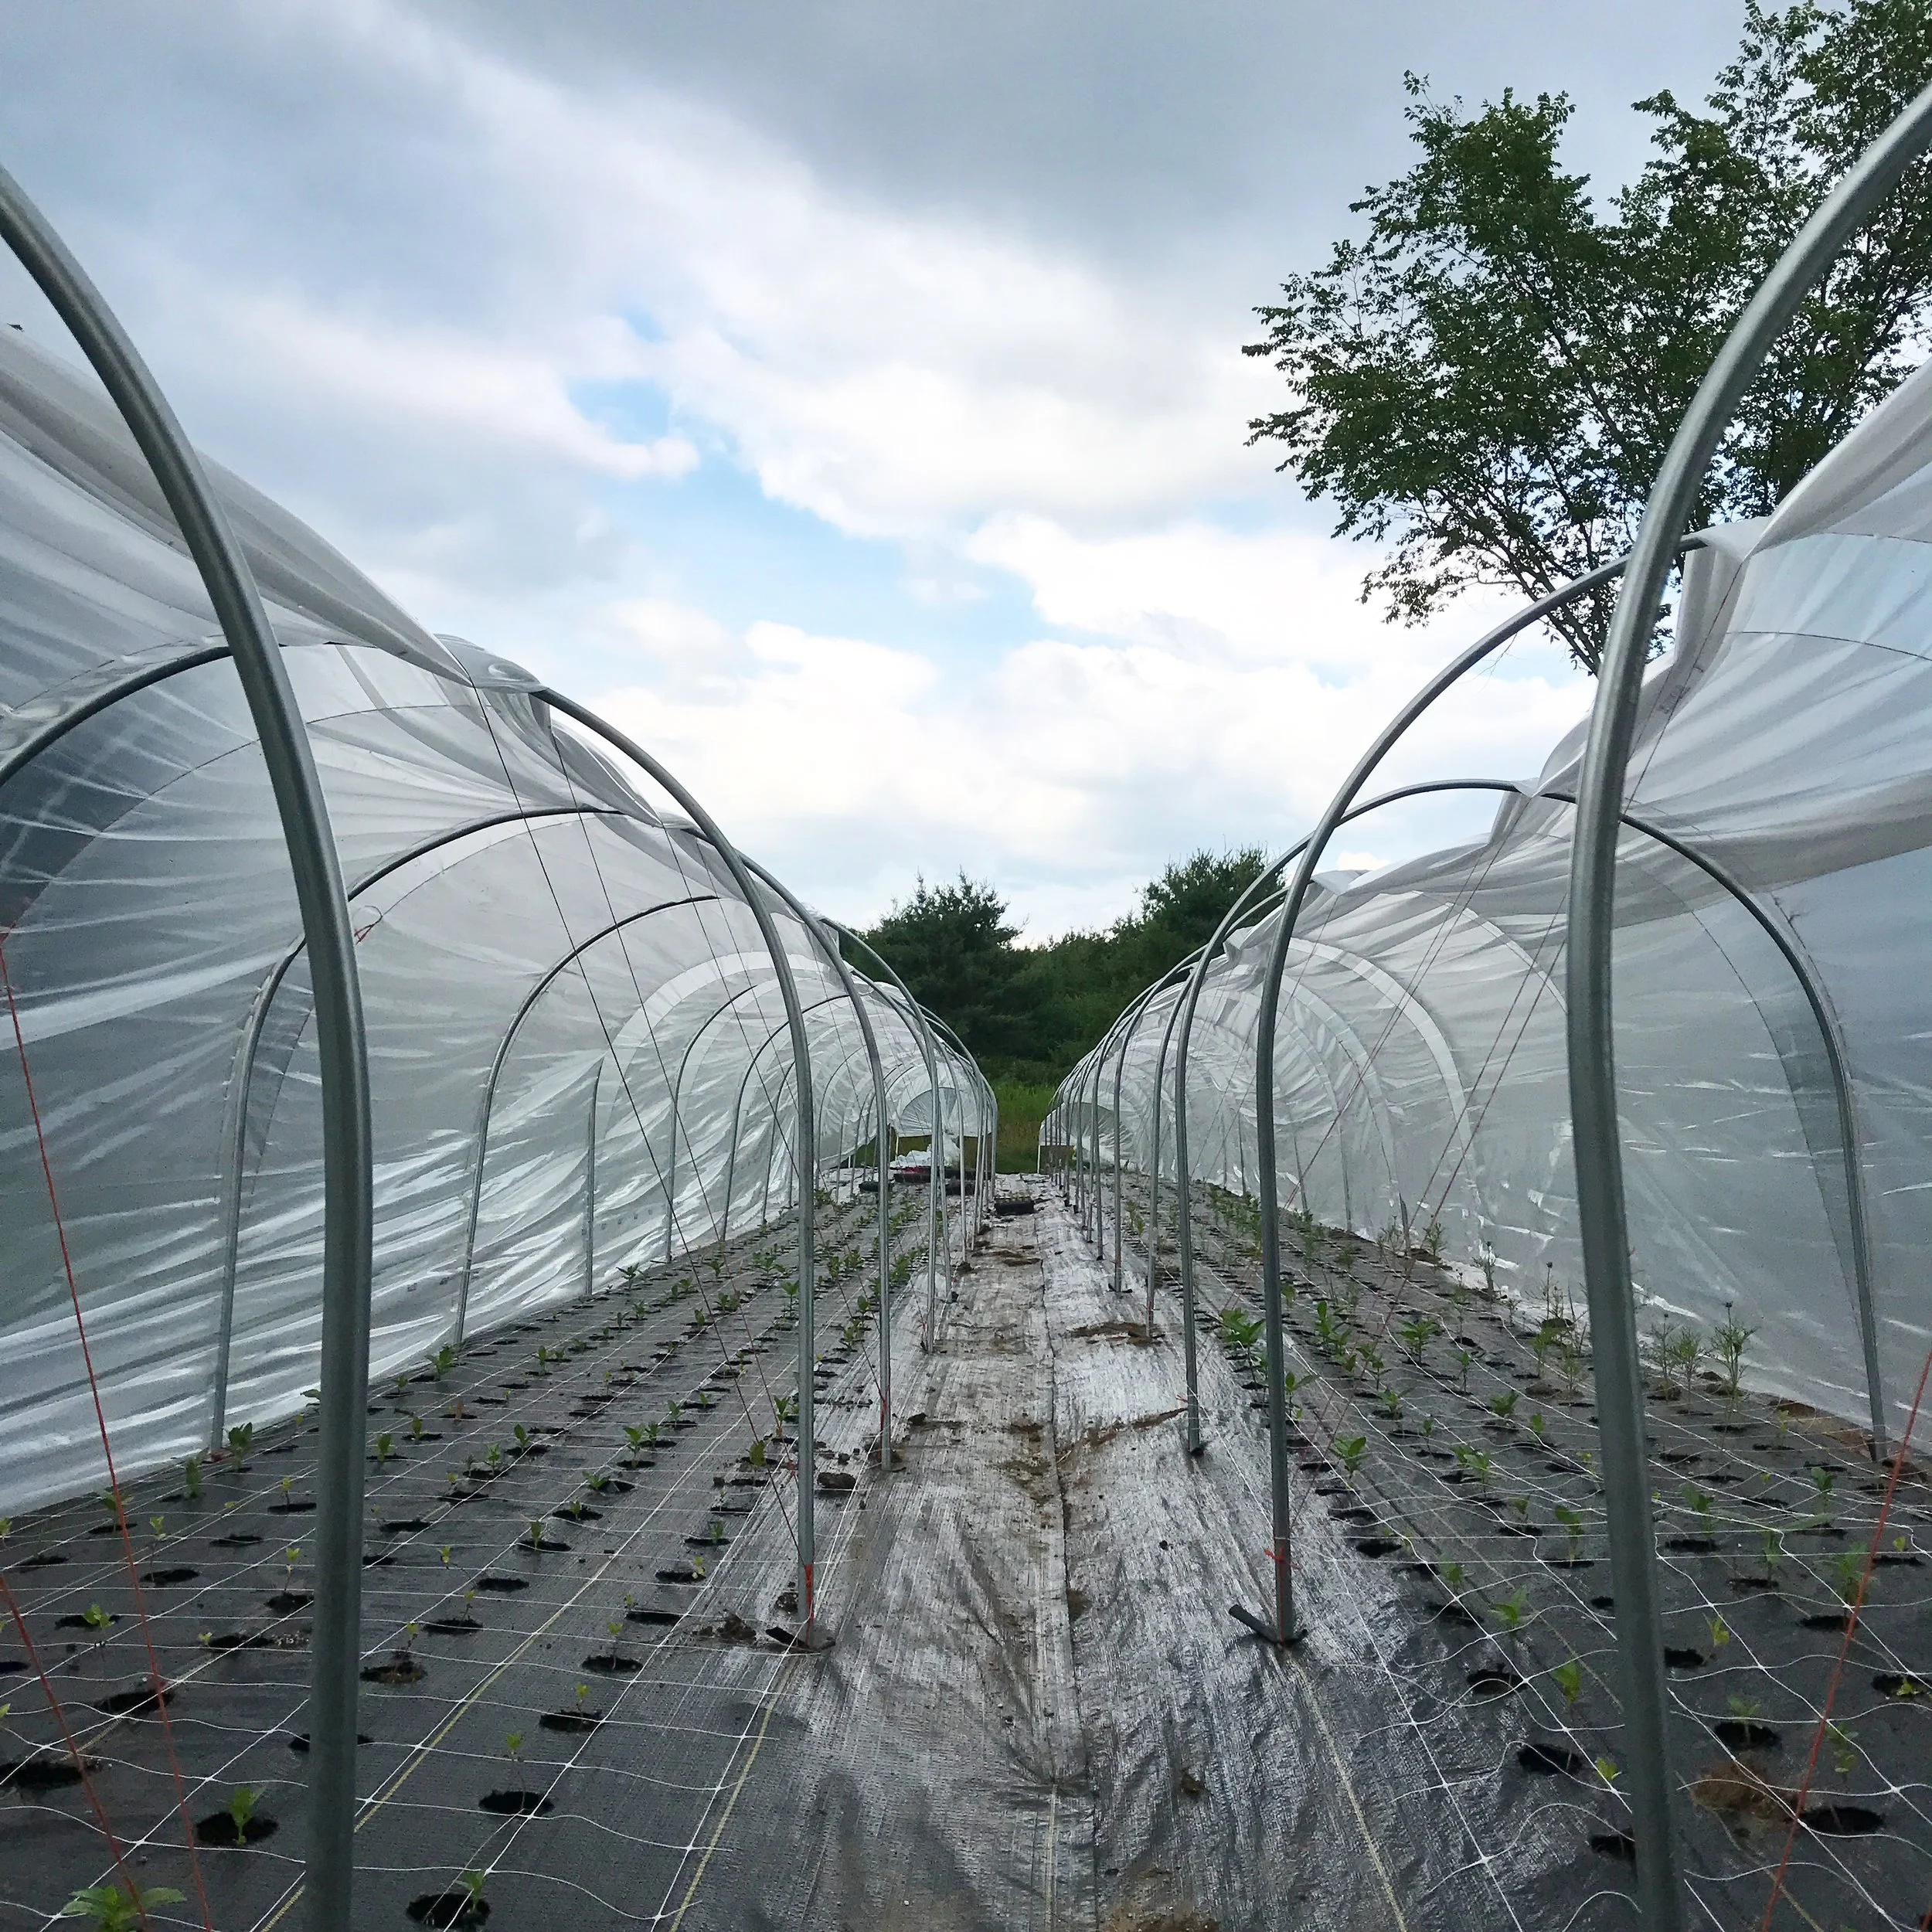
What is a low tunnel? Low tunnels are small, (ours are 4ft wide, by 4ft tall and as long as the beds we build them over) unheated structures that can be used to cover a single row of crops. They can be assembled from simple supplies by just one or two people (if you have a helper they are even faster to put together). They are a useful and economical means to achieve some season extension on your farm. Low tunnels can provide a little extra soil warmth and protect crops from frosts, wind, and heavy rain.
Traditional USes:
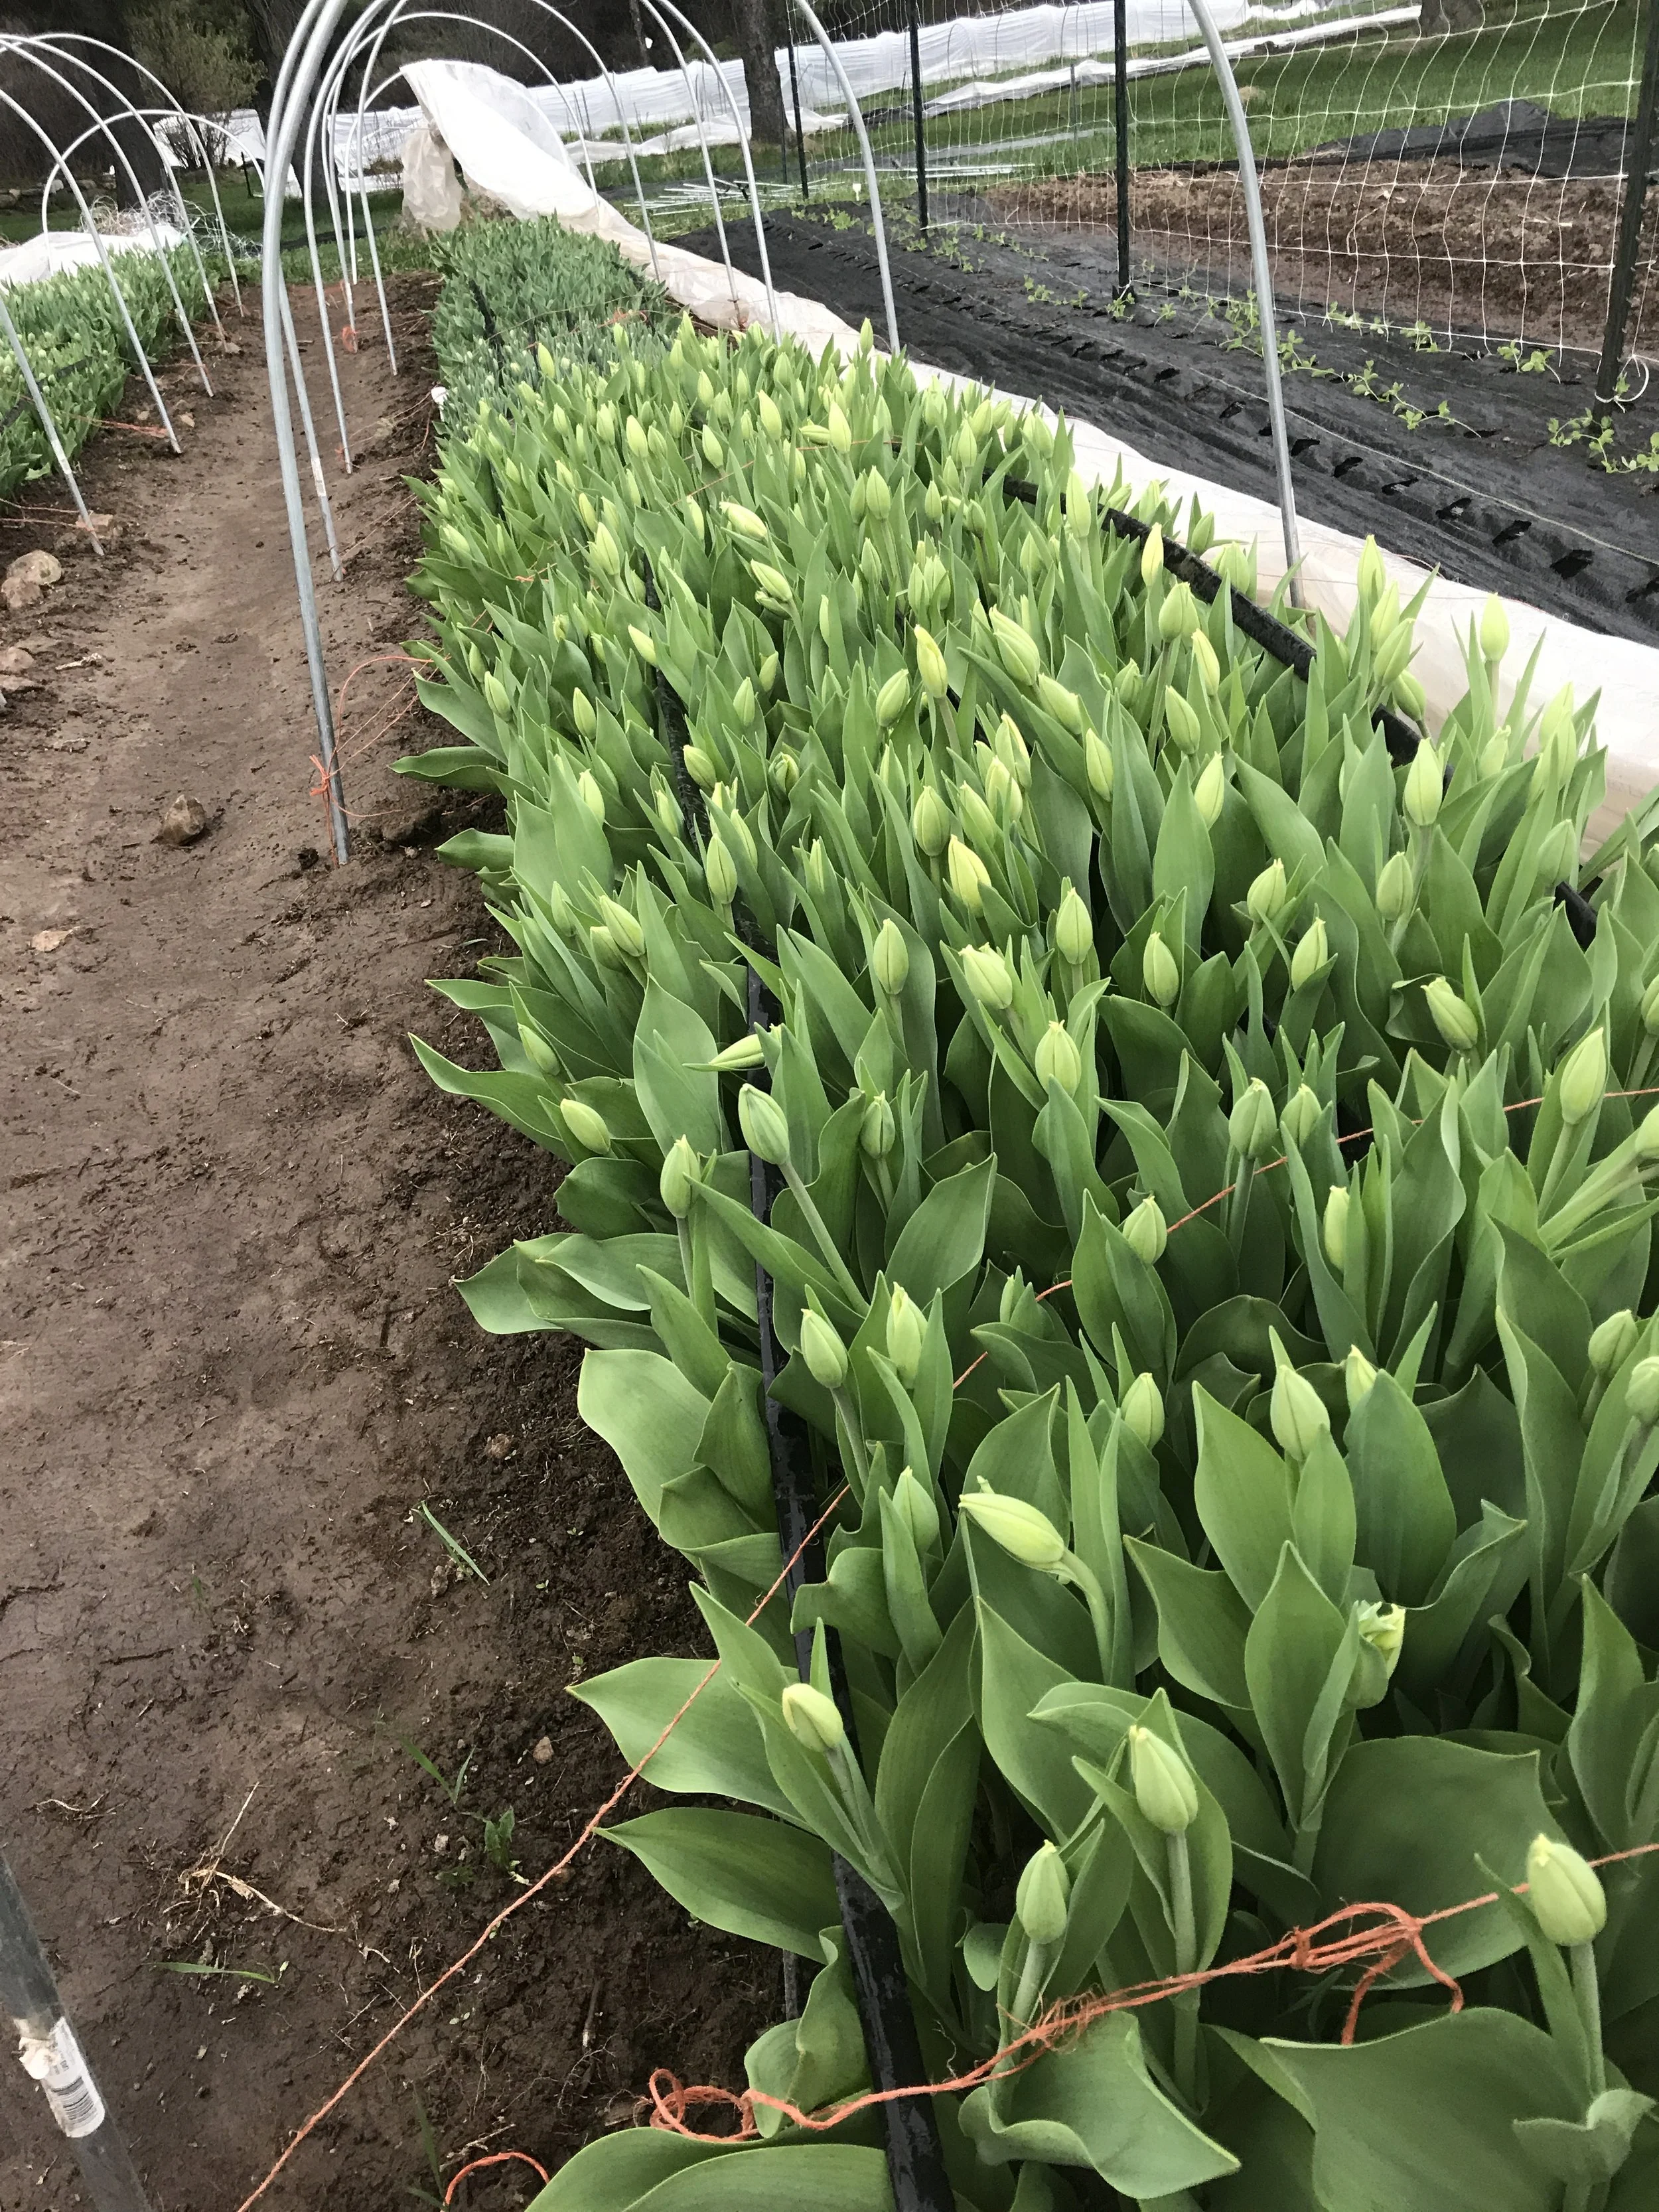
Spring frost protection
Low tunnels are most often used to protect seedings or other vulnerable plants in the spring. Many crops out grow the space of tunnel structures like these in the summer and the plastic is removed once the most dangerous spring weather passes.
Fall Frost Protection
If plants are short enough (below the height of the hoops), the plastic can be replaced in the fall to protect crops from frost.
Other uses:
But I’ve used my low tunnels in a few other ways, too.
I use them protect perennials. I used to have a cycle: the low tunnels served the annuals in the spring and summer and the perennials in the fall and winter. I would transfer the tunnels over to perennial rows containing young or tender perennials, perennials that don’t like snow on their crowns, or perennials that are zoned one zone warmer than my environment here. They appreciated the extra warmth in the winter. If you are in an area that receives snow, just remember that you will probably want to brush off your low tunnels when you receive snow. They can collapse if not cleared regularly.
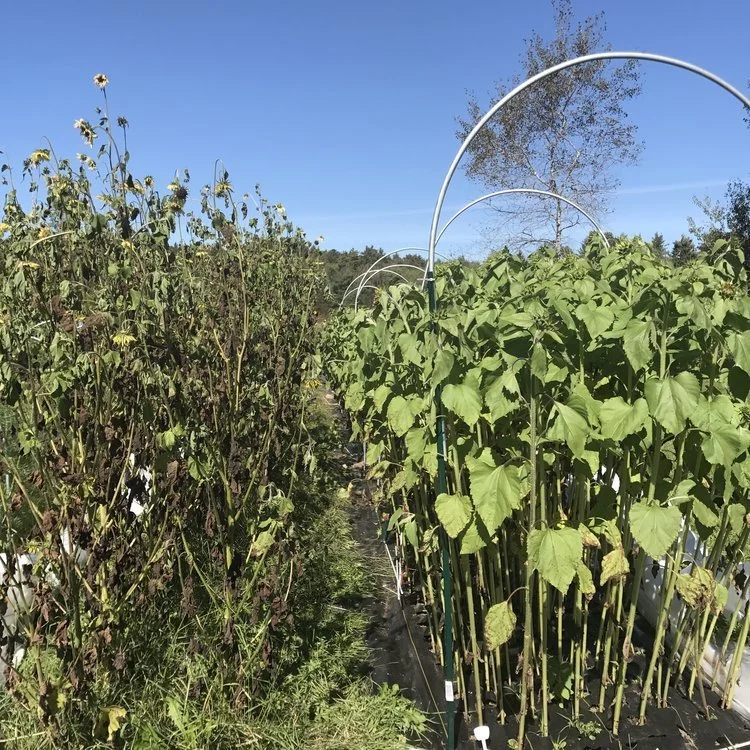
We’ve used low tunnels to save some late blooming sunflowers and amaranth that we’re going to make it through the first frosts. To protect tall crops, we raise the tunnel hoops on 6ft t-posts. And either connect two pieces of our row frost cloth or use a wider piece that can reach the ground.
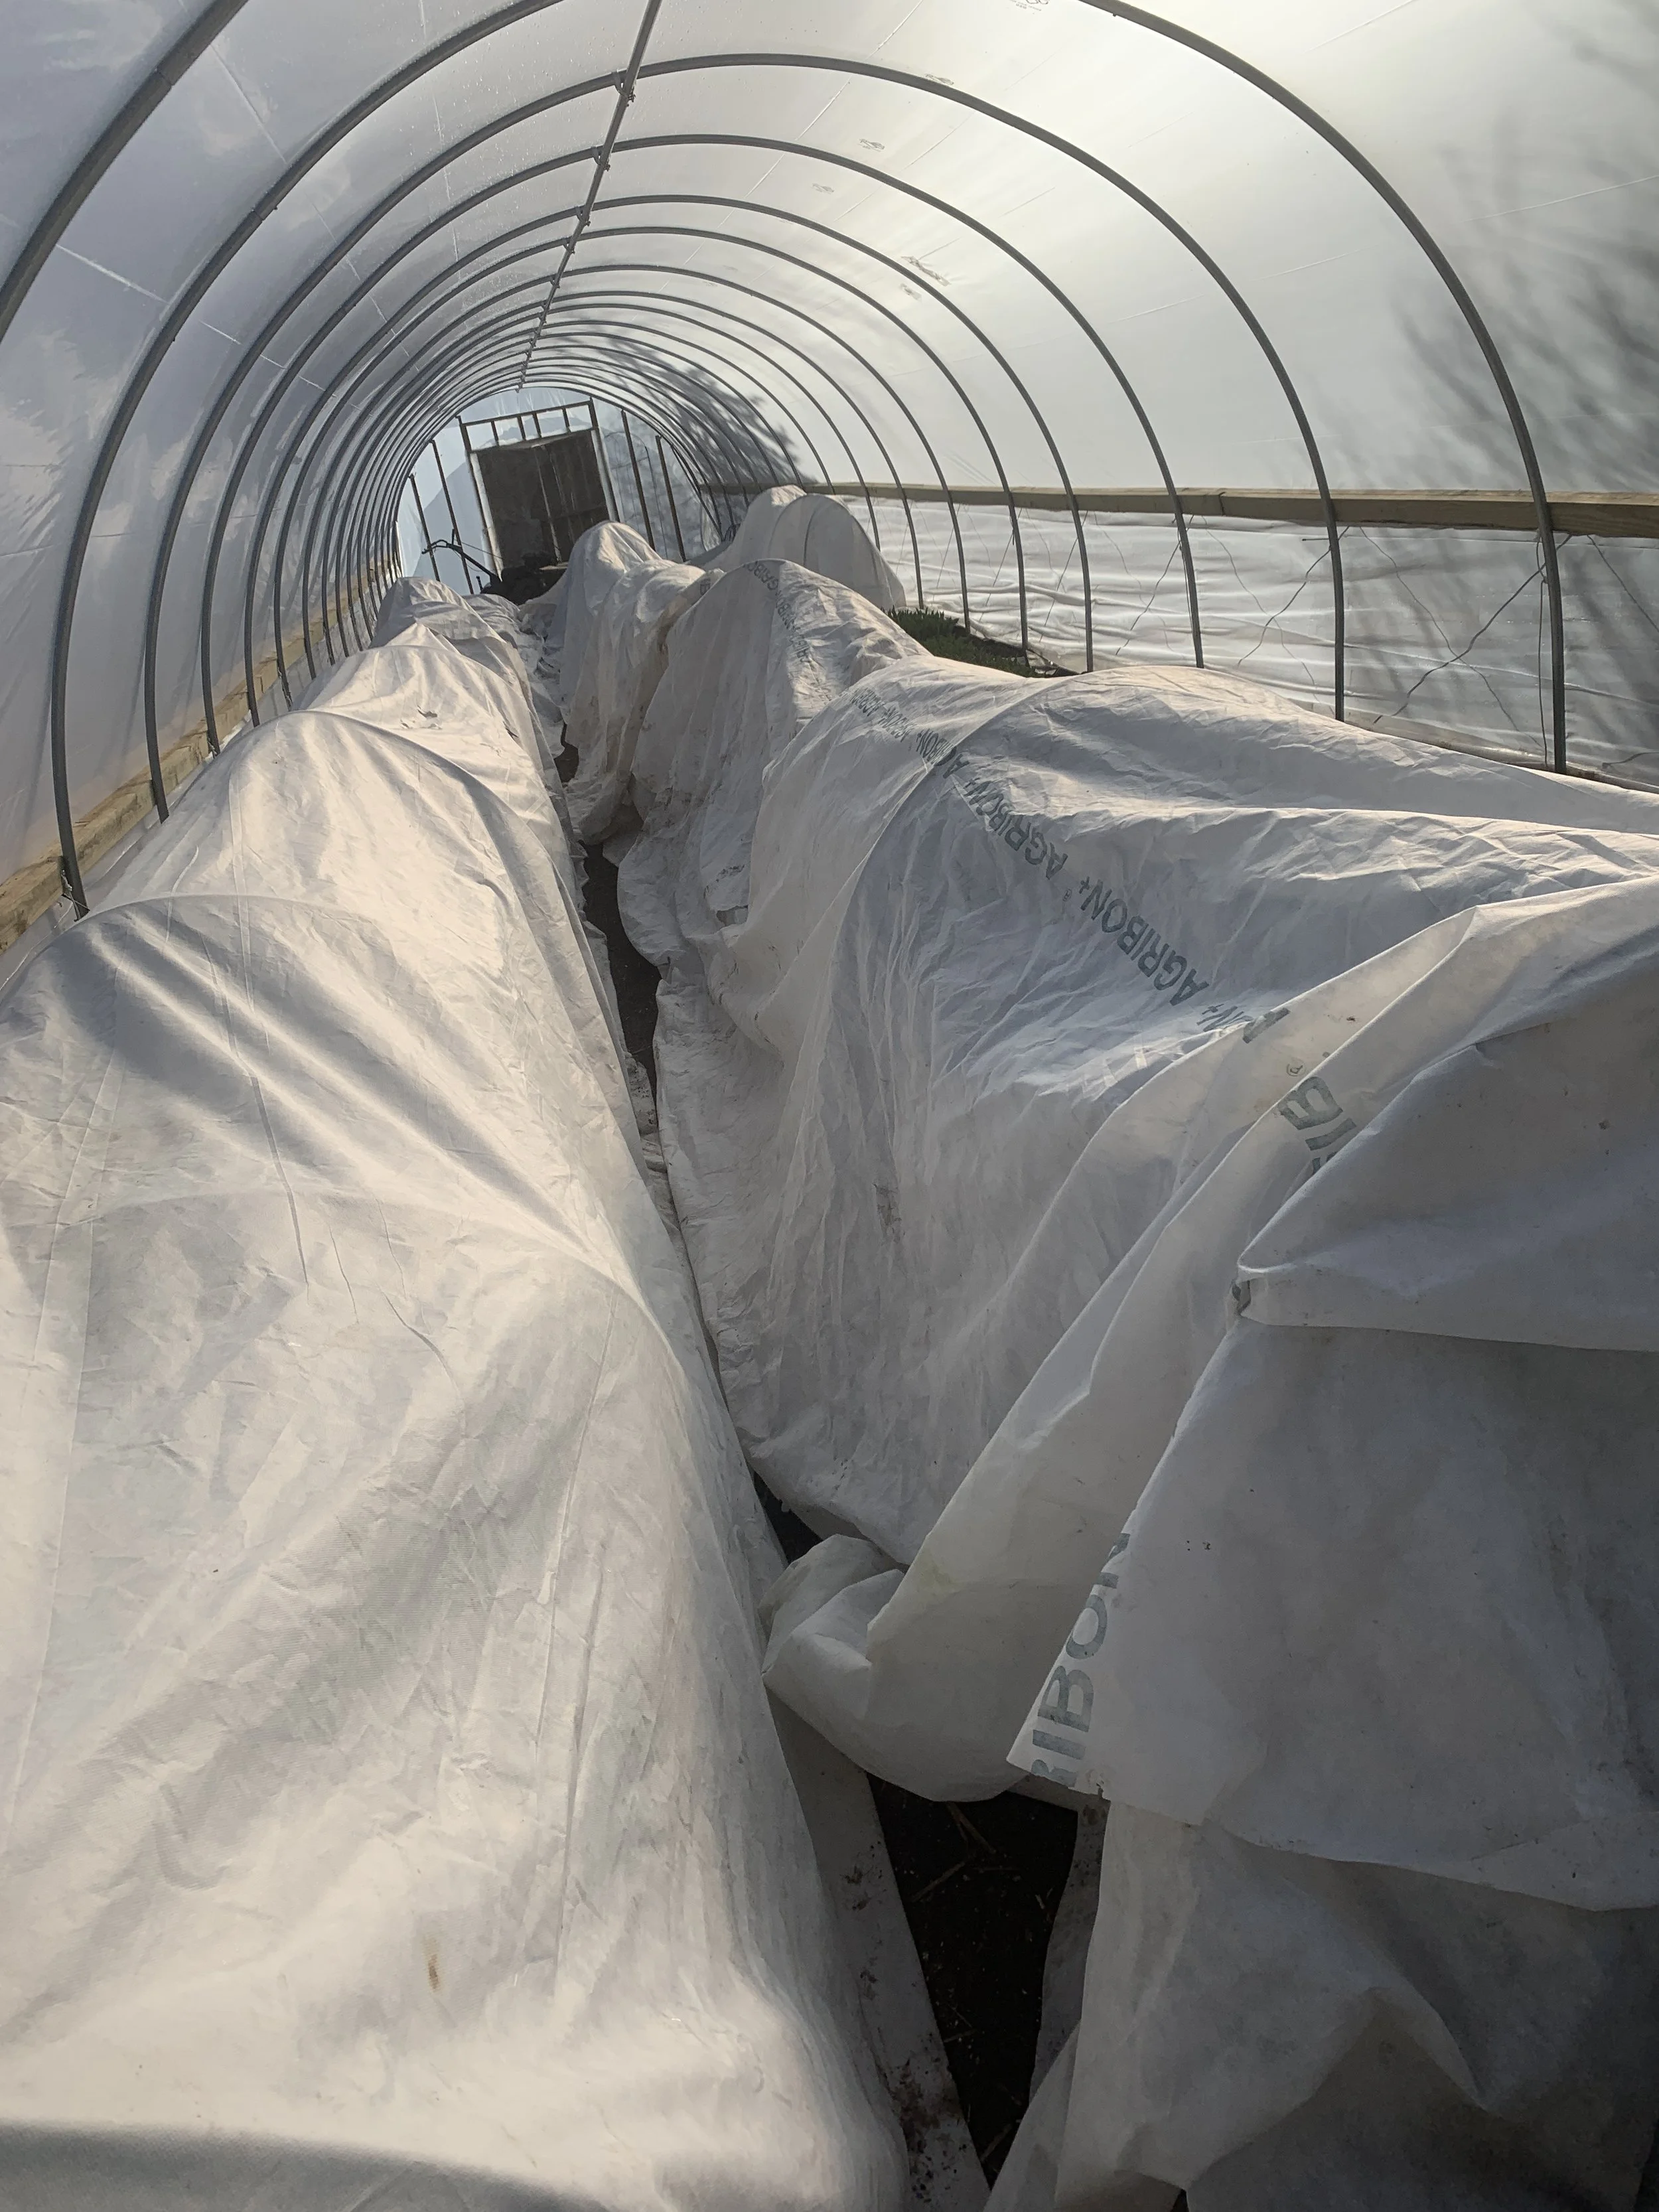
I’ve used them as hardening off spaces for seedlings. When my seed starting racks got too full in the spring, I’d evict the hardiest plants and send them to the low tunnel “nursery” outside. Ranunculus, anemones, stock, and snapdragons are all cold tolerant seedlings that can be evicted to make room for other plants. If you’re expecting some extra cold temps you can insert some frost cloth (as seen in the video)
I’ve also used low tunnels to create “heated greenhouse space” within a larger unheated tunnel. Before I was ready to upgrade one of our tunnel spaces and turn it into a heated greenhouse, I used low tunnels to protect crops and create warm growing areas in the late winter and spring. I lined up folding tables down a row inside an unheated tunnel. I zip tied some of our 4ft hoops over the tables. I set up crates below the tables. seedlings are sown and set on both the table surfaces and the crates below. I covered the low tunnels with frost cloth at night. I set a small, portable, electric greenhouse space heater inside the low tunnel on a crate under a table and a box fan about half way down to help the warm air circulate through the whole tunnel. On the coldest nights I added a couple extra pieces of frost cloth. I monitored the temps inside with a remote reporting sensor. I was able to keep my plants well above freezing at night with this method. During the day time, the frost cloth comes off and the seedlings are very happy in those unheated spaces


The next time I touch on low tunnels, I’ll share how to collect the materials you need for them (sources and pricing) and how to construct both a “standard” low tunnel and the “mini heated low tunnels” we used to use here when we found ourselves ready to move out of the spare room’s seed starting racks, but not quite ready to build a heated greenhouse.
I think it will also be helpful to share a cost comparison for the low tunnels vs. the larger unheated caterpillar tunnels. I’d like to share how many low tunnels = 1 larger caterpillar in cost and other costs (labor, tools, etc) that you will want to be aware of if you are thinking about making the jump from low tunnels to larger tunnels.
Thank you for your time. Please share your questions!
